Before uninstalling the software to set it up on another system, please make sure to deregister it.
Before initiating the uninstallation process for FileZilla Client and FileZilla Pro, it’s crucial to ensure that both applications are closed, and any associated processes are terminated. Additionally, make sure you have administrative privileges on your computer to carry out the uninstallation smoothly.
Uninstallation Process for FileZilla Client:
Please follow the next steps to Uninstall FileZilla.
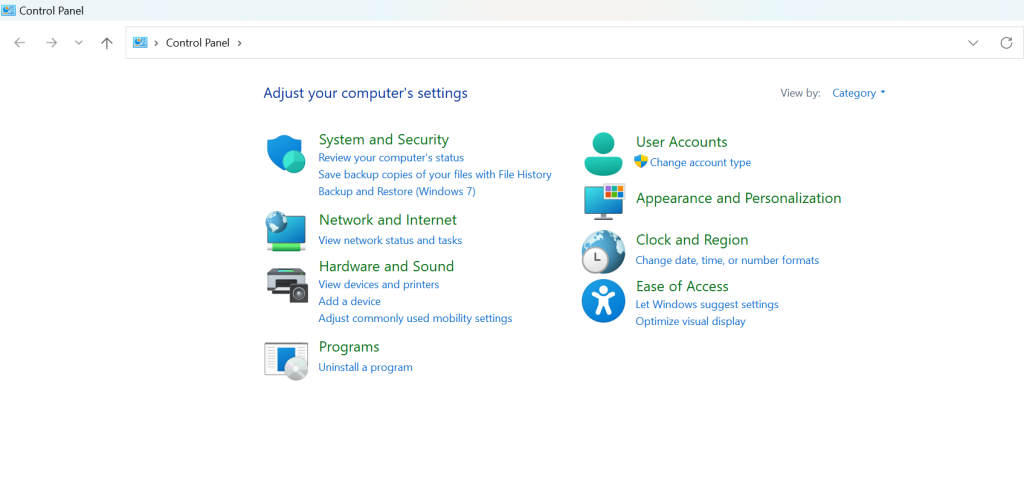
- Open the Control Panel on your Windows system.
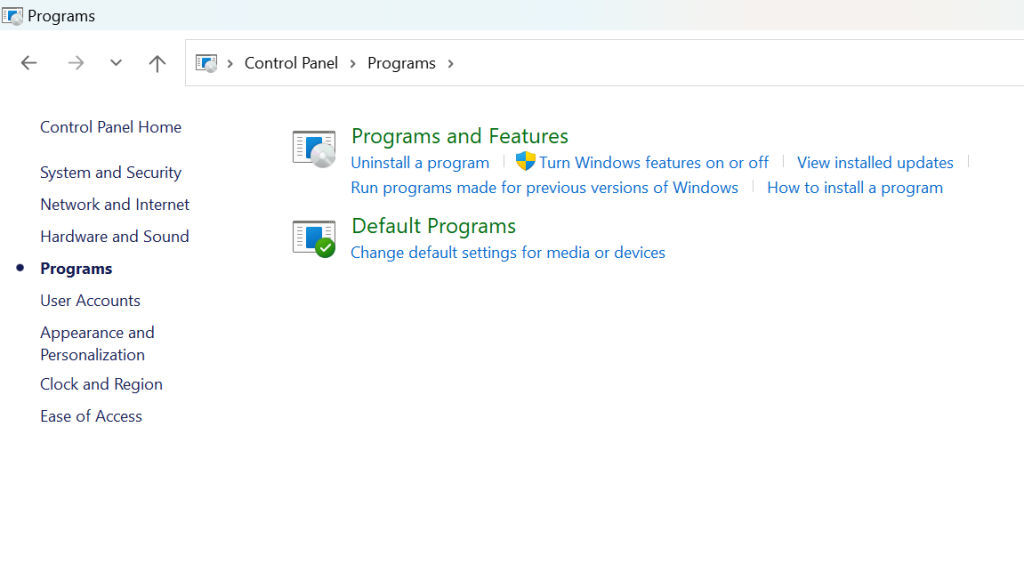
- Click on Programs and then select Programs and Features.
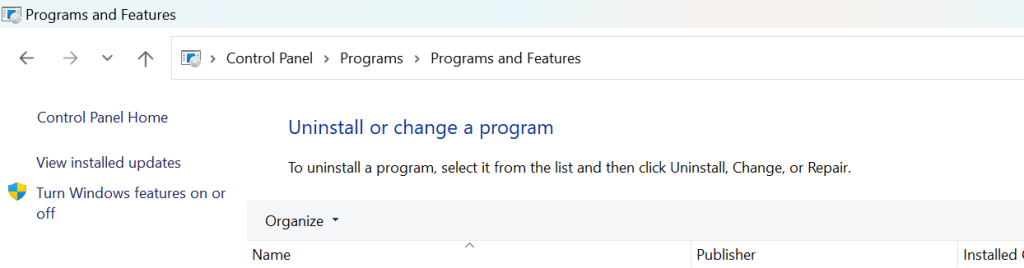
- Scroll through the list of installed programs to locate FileZilla Client.
- Right-click on FileZilla Client and select Uninstall.
- Follow the prompts of the uninstaller wizard to complete the process.

Uninstallation Process for FileZilla Pro:
Please follow the next steps to Uninstall FileZilla Pro.
- Open the Control Panel on your Windows system.
- Click on Programs and then select Programs and Features.
- Locate FileZilla Pro in the list of installed programs.
- Right-click on FileZilla Pro and choose Uninstall.
- Follow the prompts of the uninstaller wizard to complete the process.

Ensure that you carefully follow the steps for each application to uninstall FileZilla Client and FileZilla Pro successfully. After completing the uninstallation, you may also want to check for any remaining folders or files related to these applications and delete them manually to ensure a clean removal.
Related Topic:
- How to Deregister FileZilla Pro