The Site Manager is where FileZilla Pro saves server connection and login information. This is useful to avoid entering the connection details every time. To save the current connection to Site Manager see Save current connection to Site Manager.
To reach the Site Manager choose File > Site Manager…. Or press CTRL-S (Windows) or CMD-S (MacOS).
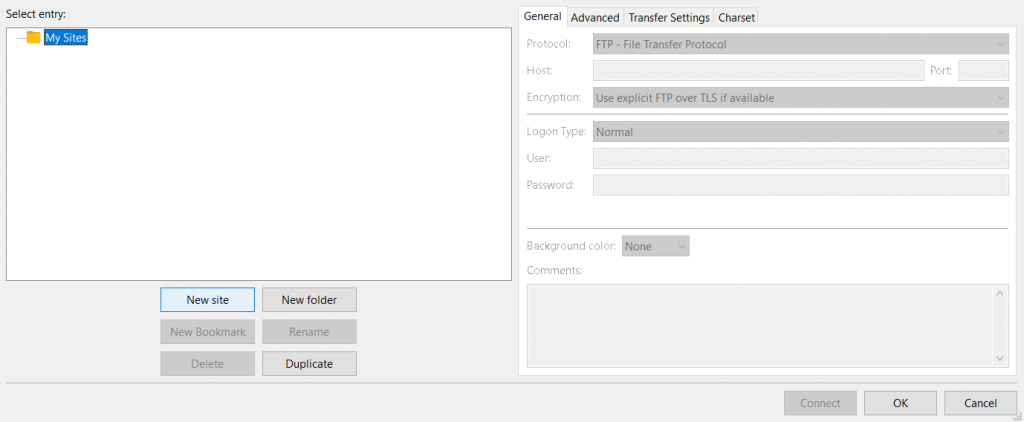
Site entries are shown on the left side of the Site Manager. On the right side site information
is shown.
Add a new site
To add a new site click the New site button. A new site entry is created.
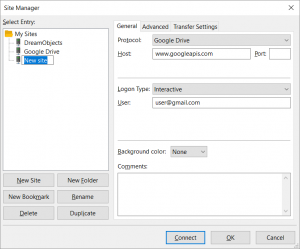
Enter a name for the new site. On the right side enter the site information.
Delete a site
To delete a site:
- Click on the site name to select it or select several entries. Hold the CTRL or SHIFT
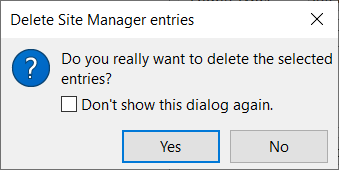
keys to select several items. - Click the Delete button.
- A dialog box is shown to confirm the delete. Check the option Don’t show this dialog
again to prevent future confirmation requests.
Rename a site
To rename a site:
- Click on the site name to select it.
- Click the button Rename or press F2, or yet click the selected name a second time after a short delay.
- Enter a new name for the site.
Duplicate a site
To create a copy of one or more sites:
- Click on the site or select the sites that will be duplicated.
- Click the button Duplicate. A copy of the sites is created.
- Rename the copied sites.
Create a folder
In case of many connections you can organize the entries in folders:
- Click the button New Folder.

- Enter a name for the folder.
- Select the site entries that will be moved to the folder.
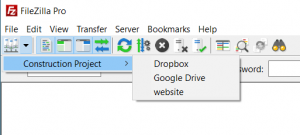
- Drag and drop the entries on the folder. Hold the CTRL key while dropping the entries
to create copies of them.
- The folder and its entries are shown as submenus in the toolbar.
Search
To search for entries:
- Press F3.
- A dialog box to enter a text to be searched.
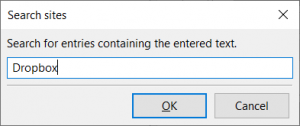
- Press OK.
- The entries matching the entered text are selected. If the text is not found in the site
names an error message is shown.
Export
To export selected items as a XML file:
- Select one or more items.
- Right-click and choose Export
- Enter a file name.
The file can be later be imported in FileZilla Pro. See also Export Site Manager Connections and Import Site Manager Connections.
Tabs
General
- Background color: select the color that will be used in the background of the Local and
Remote, Directories and Files section of the main window and in the tab. See Navigatingin FileZilla Pro. - Comments: a free area where any type information can be entered. FileZilla Pro does
not use the comments.
Advanced
- Bypass proxy: enable if you want to bypass the default proxy. See Bypass the ProxyServer
- Default local and remote directories: to configure the default directories displayed
when connected to the site. See Configure Default Directories for a Connection - Synchronized browsing: enable synchronized browsing between local and remote directories.
See Synchronizing browsing of local and remote directories - Directory comparison: enable comparison between local and remote directories. See
Comparing Local and Remote files - Adjust server time: configure the time offset between local machine and the remote
server. See Configure server time offset
Transfer Settings
- Limit number of simultaneous connections: configure the number of simultaneous
connections. See Limit Number of Simultaneous Connections to a Server
Charset (FTP, FTPS, SFTP)
- Use this to configure the character set used in this connection. See Configure CharacterSet Used for a Connection
The video tutorial below shows how to use Site Manager with FileZilla/FileZilla Pro.