Groups are used to define properties shared by all users belonging to the same group.
You can set the following properties
You can set the following properties:
- Mount points
- Filters
- Limits
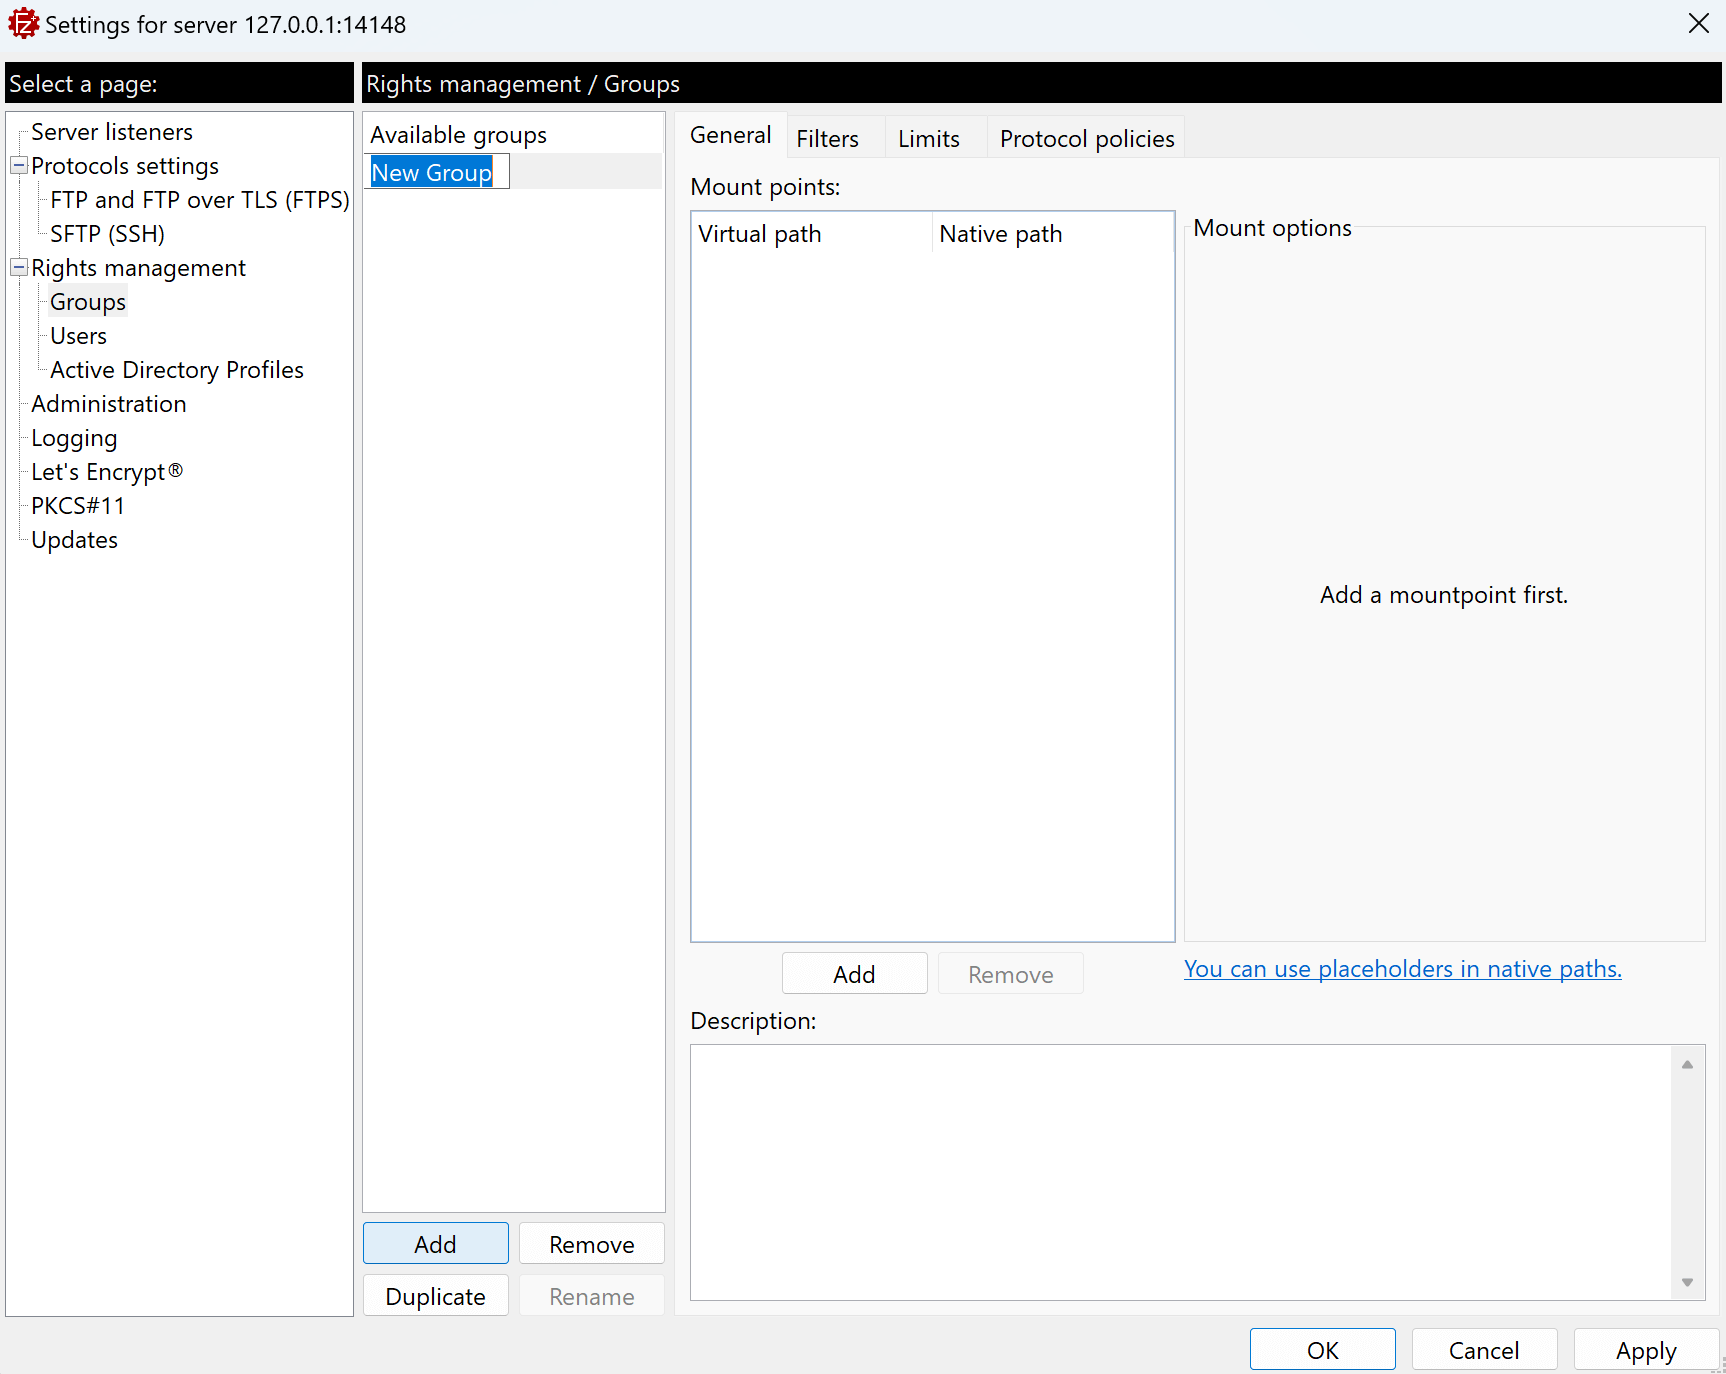
Managing groups
To create a group click on the Add button at the bottom of the list on the left of the Groups panel.
To rename or duplicate a group, select it in the list on the left of the Groups panel, then click the corresponding
button (Rename, or Duplicate).
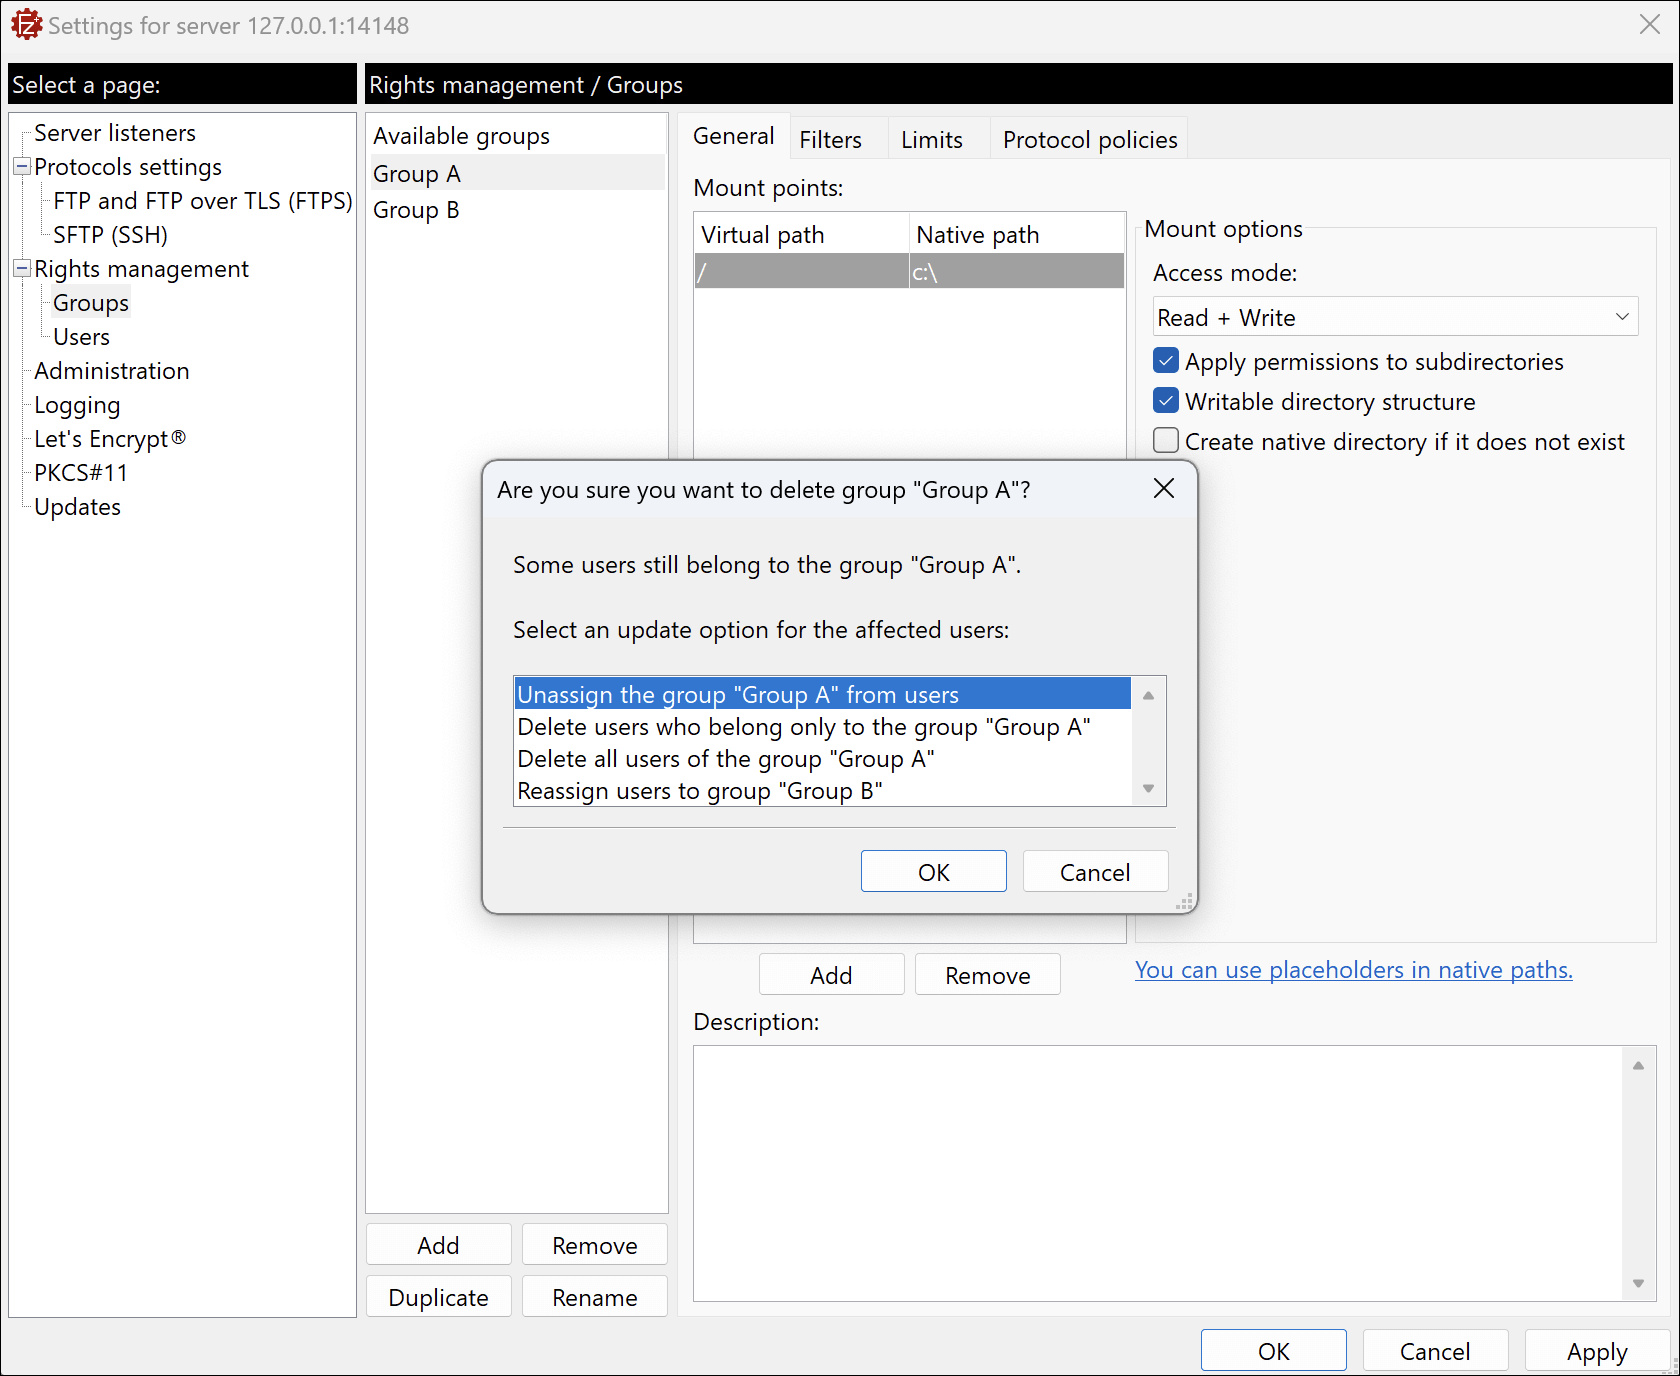
To remove a group, select it and click on the Remove button. If there is at least one user in that group, you will
be prompted to choose how to proceed. The available options are:
- Unassign the group “Group A” from users (the users remain active but are no longer associated with the
group). - Delete users who only belong to group “Group A” (users with no other group memberships will be
removed). - Delete all users who belong to group “Group A” (this removes every user in the group, regardless of other
memberships). - Reassign users to group “Group B” (the users are moved into another group you select).
To add a user to a group see How to Add a User to a Group section.
Editing mount points
Configuring Group mount points works the same way as for users. Please refer to the editing-user-mount-points section for details on how to set them up.
Editing Filters
Configuring Group filters works the same way as for protocols. Please refer to the Filters section for details on how to set them up.
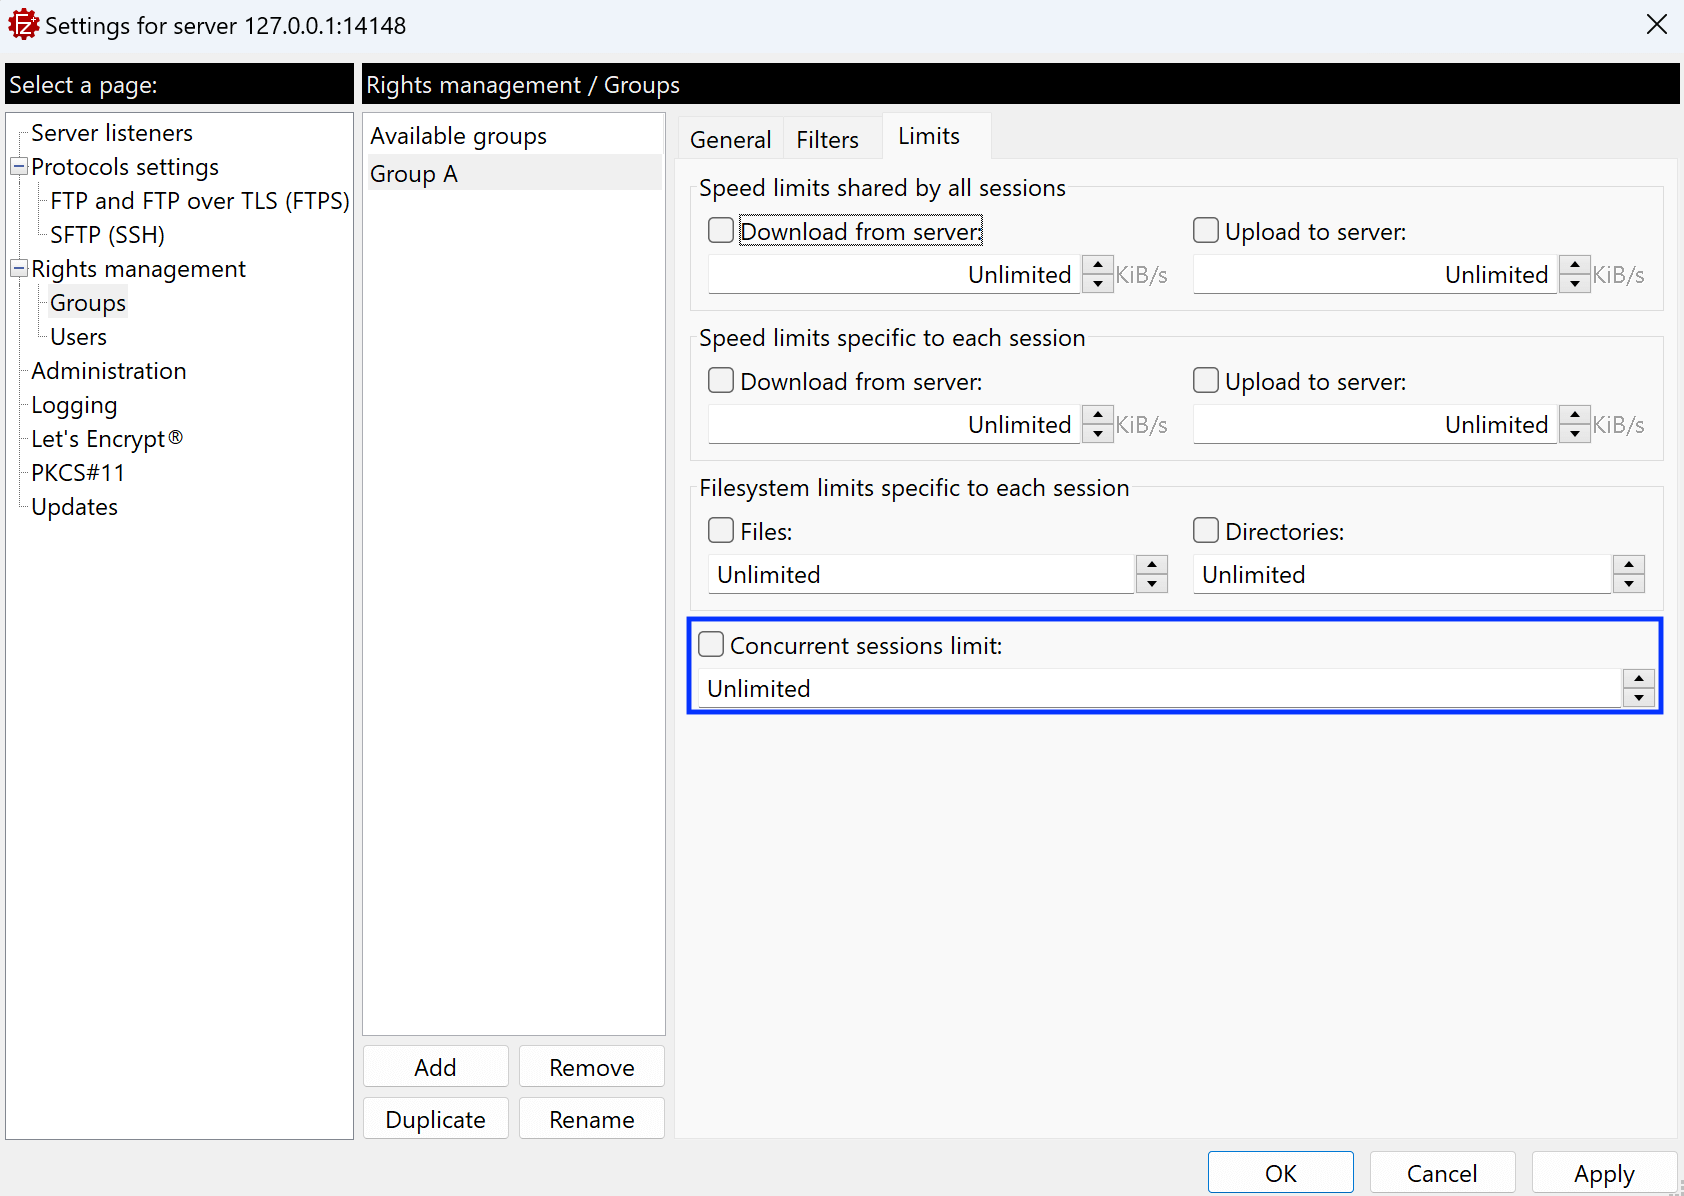
Editing groups limits
The Speed limits sections allow you to configure upload and download speed limits, which can be customized for each session associated with the group or shared among all sessions linked to the group.
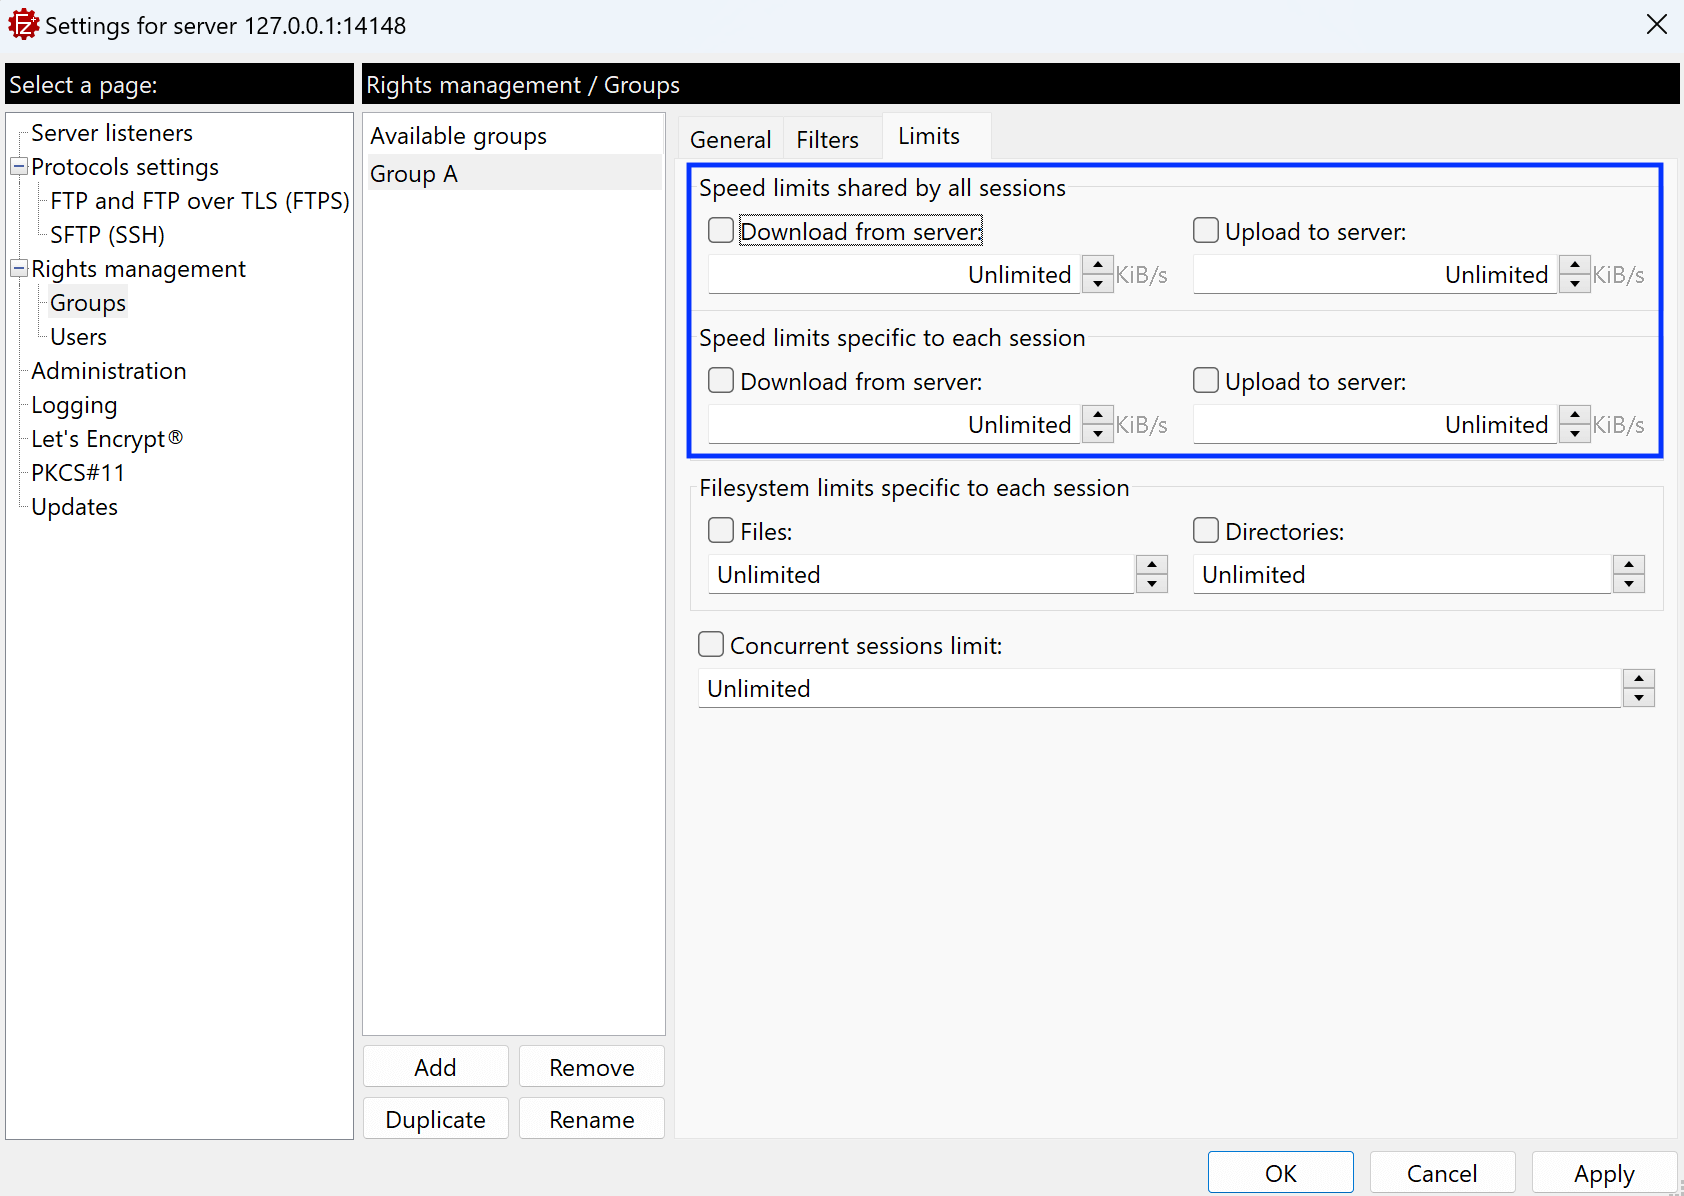
For example, if a per-session limit is set to 10 KiB/s and there are 5 active sessions related to the group, each session will be able to reach 10 KiB/s, resulting in a cumulative speed of 50 KiB/s for all sessions.
On the other hand, if you set a shared-session limit to 10 KiB/s and have 5 active sessions related to
the group, the combined speed for all sessions will be limited to 10 KiB/s.
The filesystem Limit: allows you to define the maximum number of files and/or directories that can be opened simultaneously. This setting provides fine-grained control over the user’s file management activities within each session associated with the group or across all sessions related to the group.
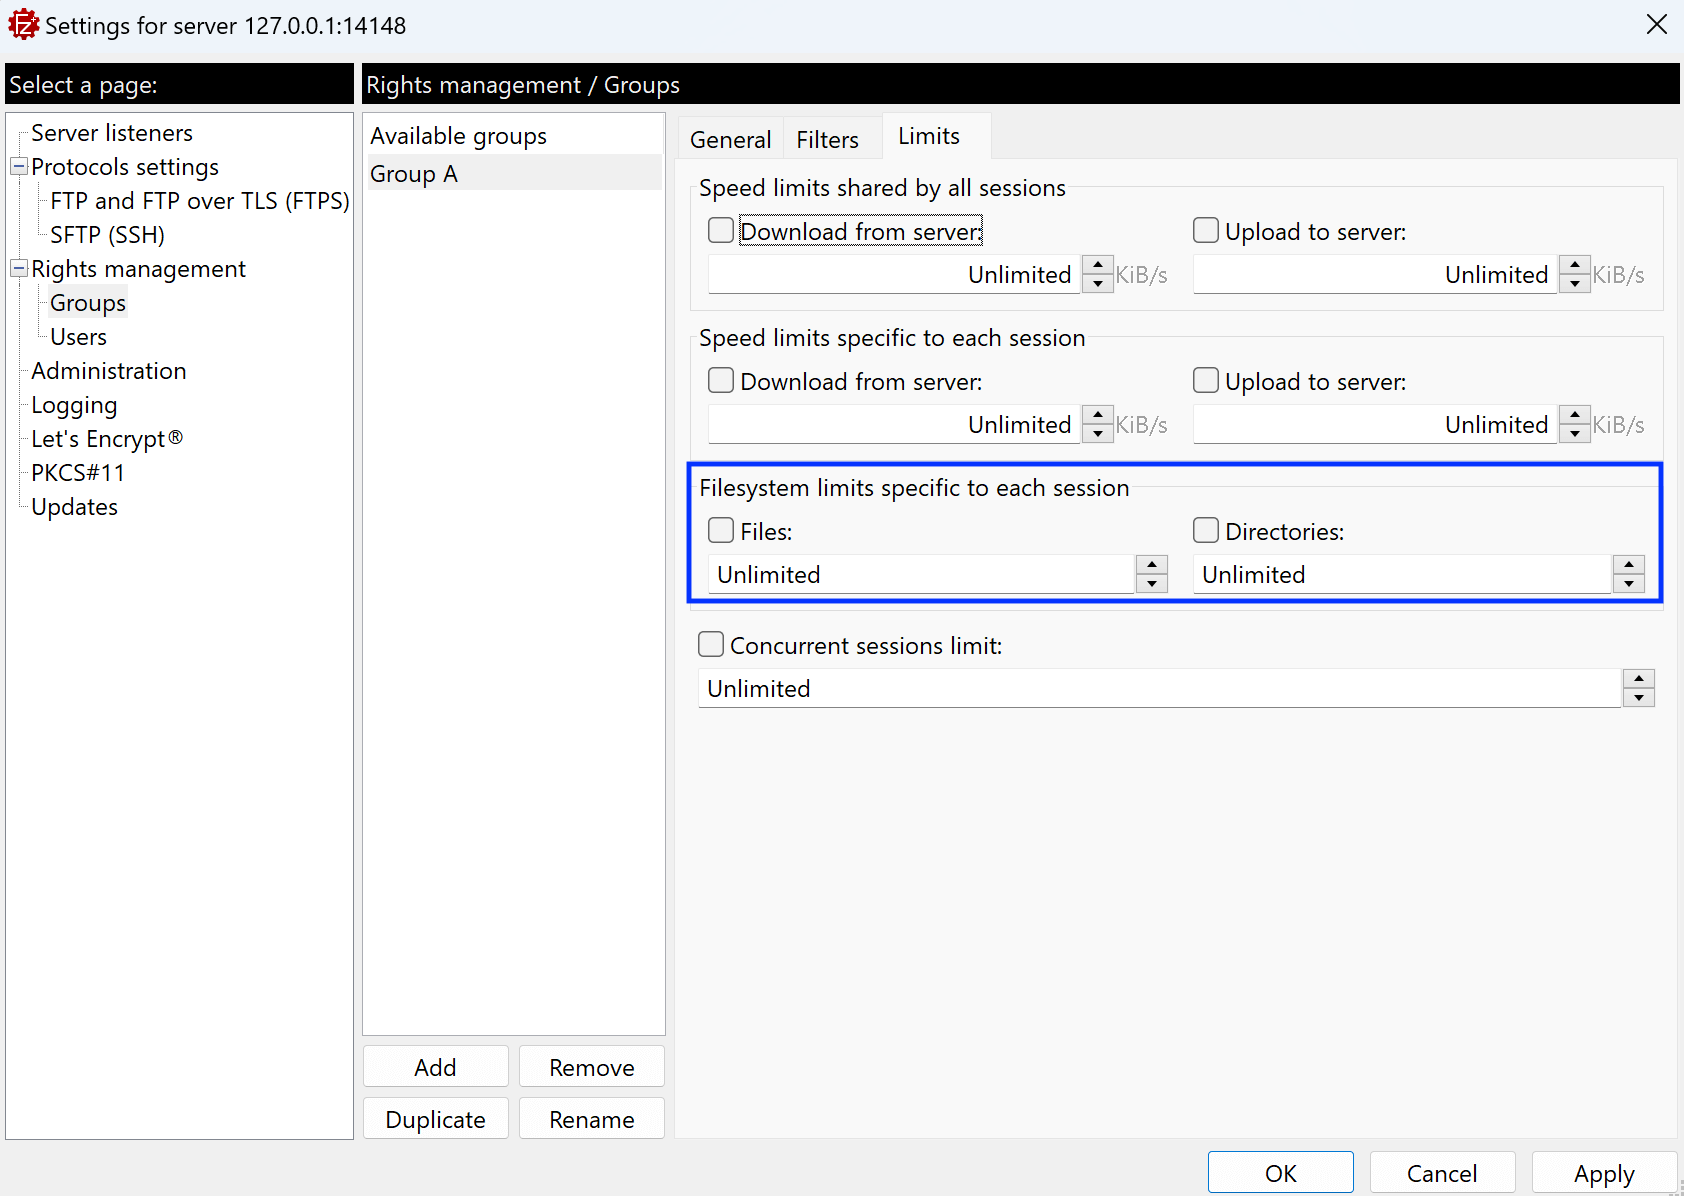
The Concurrent Sessions Limit feature enables you to establish the maximum number of sessions that a user can have open simultaneously. This parameter governs the parallel operation of sessions, ensuring efficient resource utilization and helping to manage the user’s engagement across multiple sessions. Whether specific to each session related to the group or shared among all sessions, this limit provides flexibility in controlling the user’s concurrent interactions with the system.
The video tutorial below shows how to configure FileZilla Server’s user types and how to use placeholders to define native paths.