AWS Identity Center provides access to resources without the need for access keys or secret keys.
To connect using the IAM Identity Center:
- In the menu bar, click on File › Site Manager…
- Select S3 via IAM Identity Center from the Protocol drop-down list.
- In the Logon type drop down list, choose either Interactive or Profile.
- With Interactive type:
Enter the AWS account ID in the Account ID field.
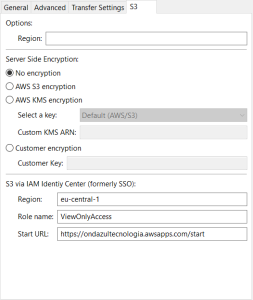
In the S3 tab, S3 via IAM Identity Center section, enter:- Region: the AWS Region that contains the AWS access portal host. This field can be different from the Region field in the same tab.
- Role name: the role or permission set name.
- Start URL: the URL for the AWS access portal.
- With Profile, enter a configured profile name. See How to use AWS config and credentials files to connect. The required profile fields are:
sso_account_id,sso_region,sso_role_name and sso_start_url - Click on Connect.
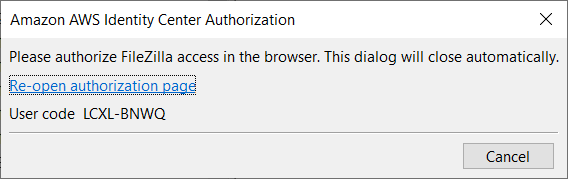
- FileZilla Pro shows the AWS Identity Center window, with a unique session code:
- In the browser, IAM prompts you to login using your IAM credentials. You may need to enter the session code presented in the AWS Identity Center window.
- Upon logging in, it is necessary to authorize the request.
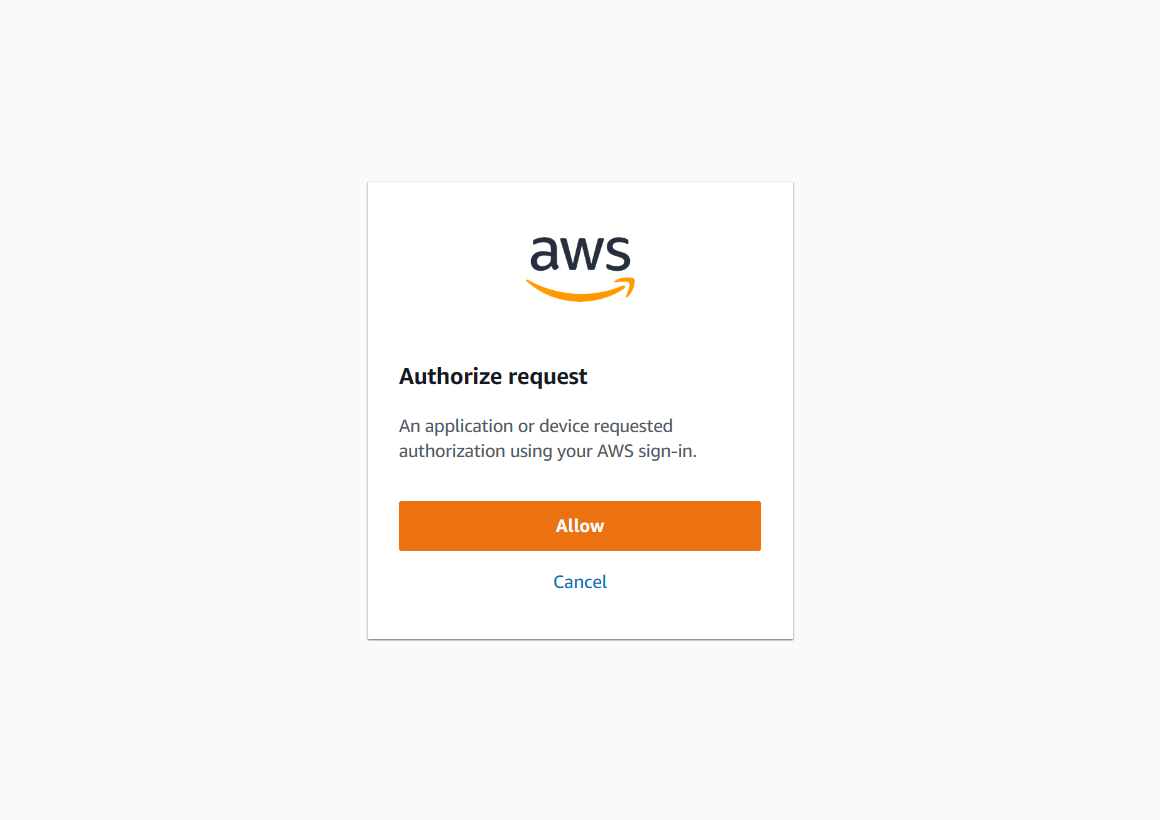
- Click Allow to grant access to FileZilla Pro.
- Upon successful completion, the AWS Identity Center window will automatically close.
.
Note: For more details on creating and managing sites, see Using the Site Manager.
and launches the default browser.
For more information, visit https://aws.amazon.com/iam/identity-center