This feature is only available on FileZilla Pro, if you didn’t buy it yet you can buy FileZilla Pro from our Store.
What you’ll need to upload files to OpenDrive:
- An OpenDrive account
- Your OpenDrive login details: email address and password
Configuring FileZilla Pro for OpenDrive
- Open FileZilla Pro.
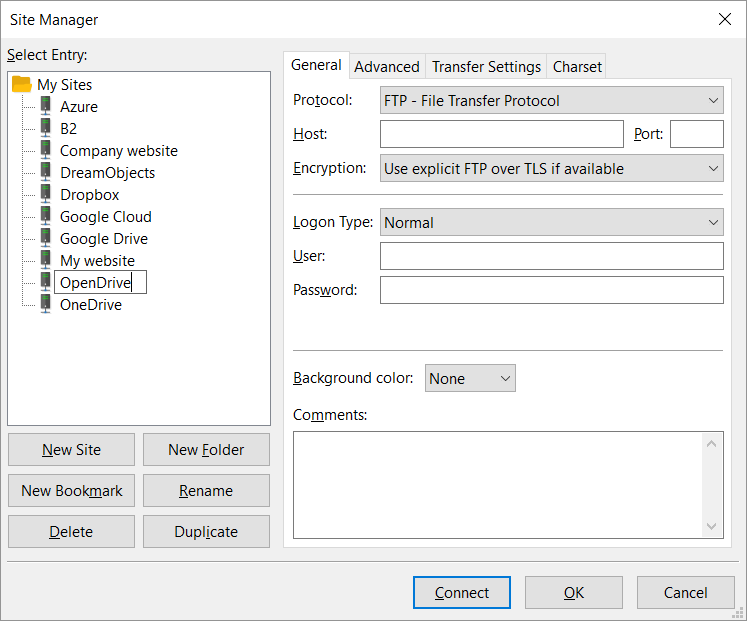
- In the menu bar, click on File > Site Manager….
- Click on New Site.
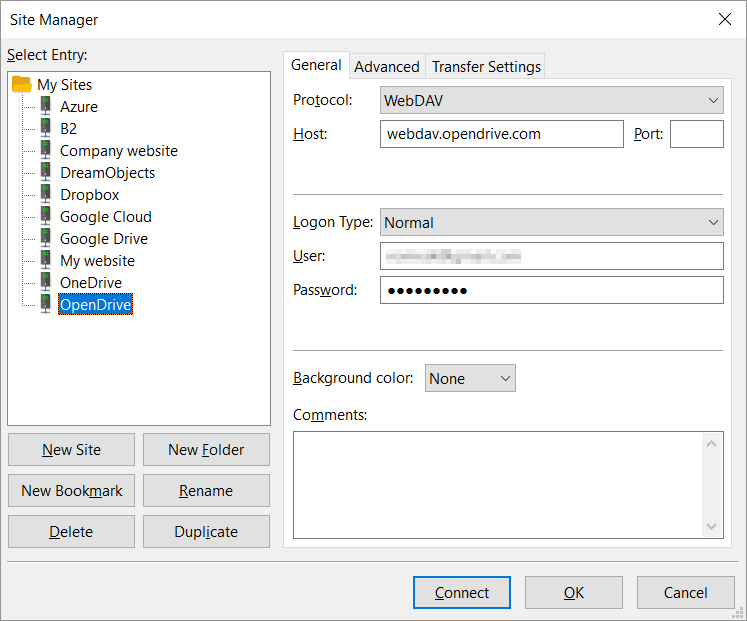
- Select WebDAV from the Protocol drop down list.
- Enter webdav.opendrive.com in the Host field.
- Enter the email address associated with your OpenDrive account in the Email field.
- Enter your OpenDrive password in the Password field.
- If the URL given to you by your provider includes a path, like provider.com/webdav, enter the path (/webdav) in the Advanced Tab, Default Remote Directory field. Make sure the path starts with a slash.
- Check the server certificate details displayed – Common name should include opendrive.com – and click on OK.
Your OpenDrive directories and files will be displayed in the Remote directories section of the main window.
You can now transfer files between your local machine and your OpenDrive account.
These instructions also apply to any WebDAV provider.

