Below you find a step by step guide, if you prefer you can watch our How to connect to Microsoft Azure Cloud video tutorial.
Azure offers two types of storage. Azure File Storage provides file shares in the cloud that can be accessed and managed like traditional file shares, making them suitable for applications and scenarios that require file system semantics. Azure Blob Storage stores large amounts of unstructured data, such as text or binary data, making them ideal for serving images or documents directly to a browser or for storing backups, media files, and data for analysis.
To connect to Azure, make sure you have the following:
- An Azure account
- The name of the storage account that you want to access
- An access key
If you already have your Access key, skip the next topic and go to How to connect to Azure File Storage or How to connect to Azure Blob Storage.
How to find your Azure access key
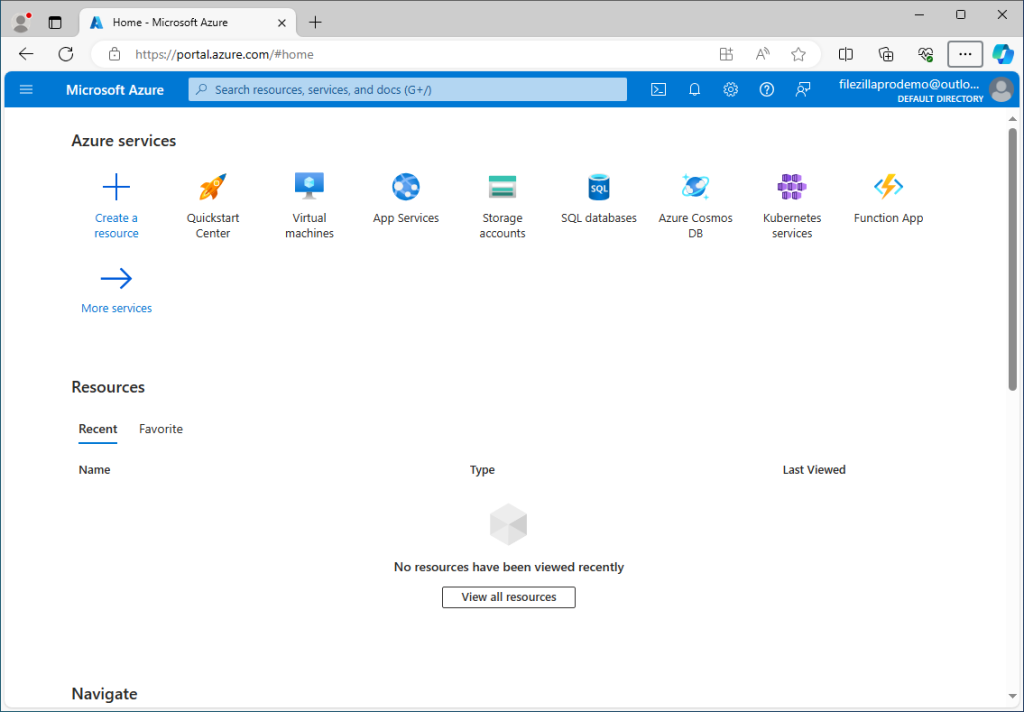
- Log into your Azure account and go to https://portal.azure.com
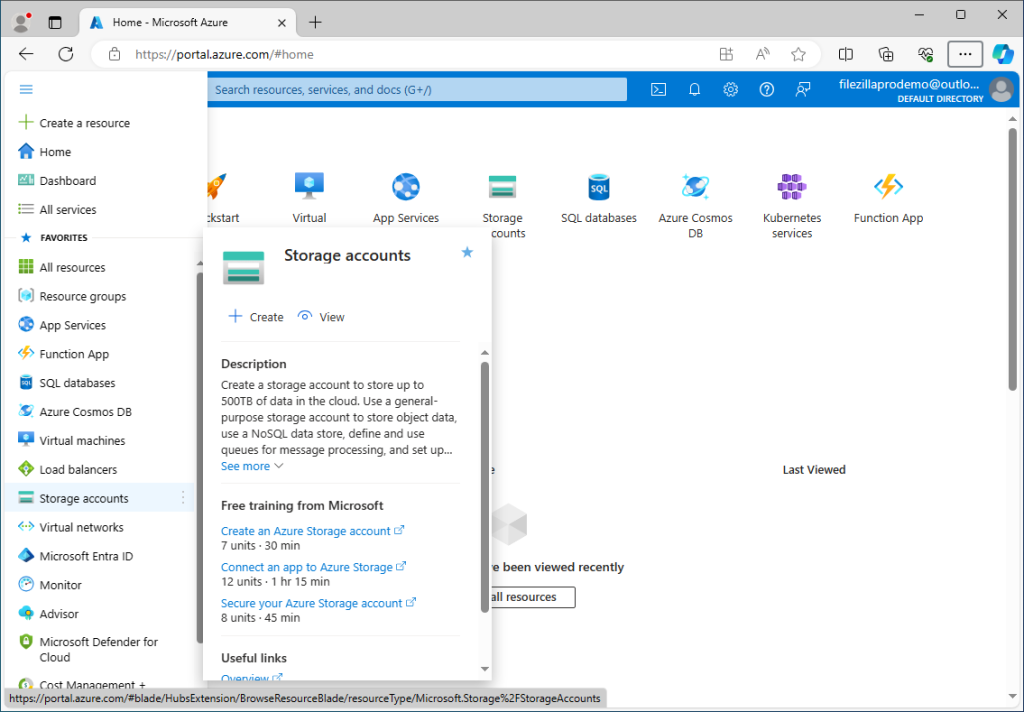
Your Azure dashboard should look something like this: - Click on Storage accounts in the menu on the left.
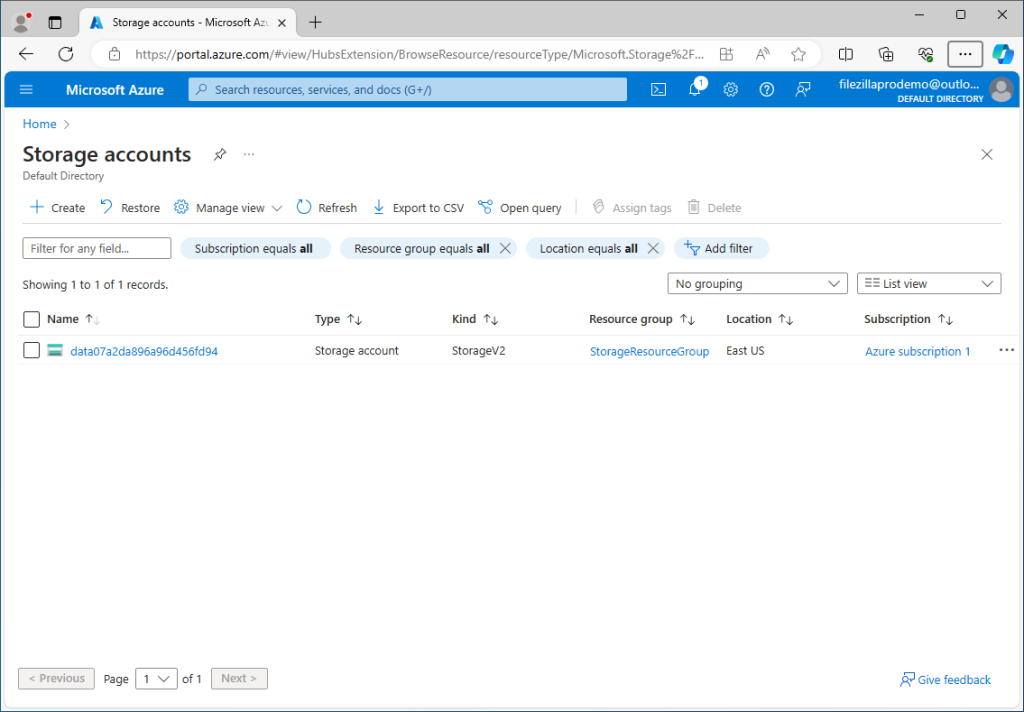
- Select your storage account.
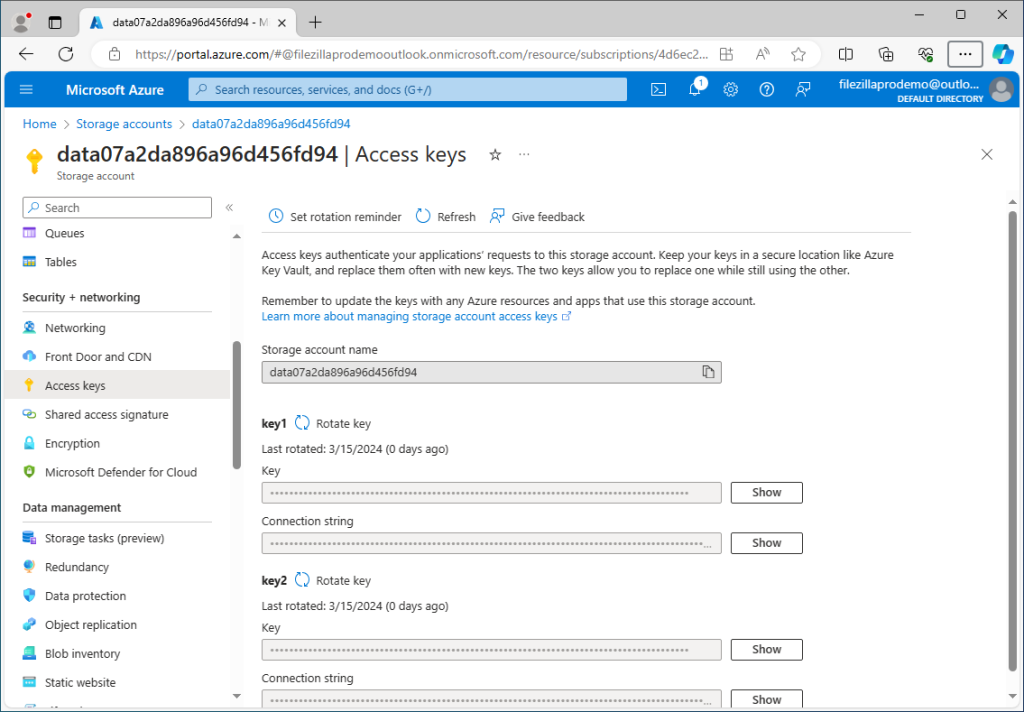
- Click on Access keys in the Storage menu.
- Click on the Show button next to an access key.
- Click on the Copy to Clipboard button next to an access key.

Configuring FileZilla Pro for File Storage type accounts
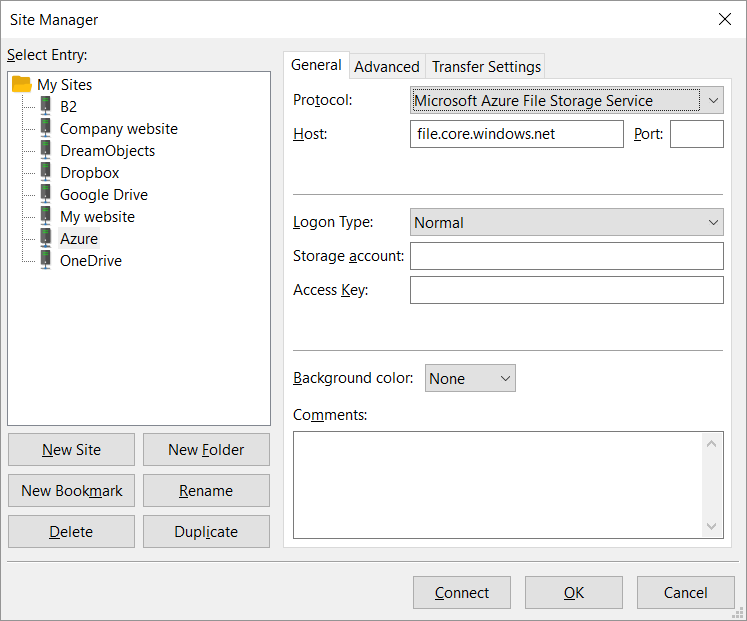
- In the menu bar, click on File › Site Manager…. See Using Site Manager for more details.
- Click on New Site.
- Select Microsoft Azure File Storage Service from the Protocol drop down list.
- Enter your storage account name in the Storage account field.
- Paste the access key that you copied from Azure into the Access Key field.
- Click on Connect.
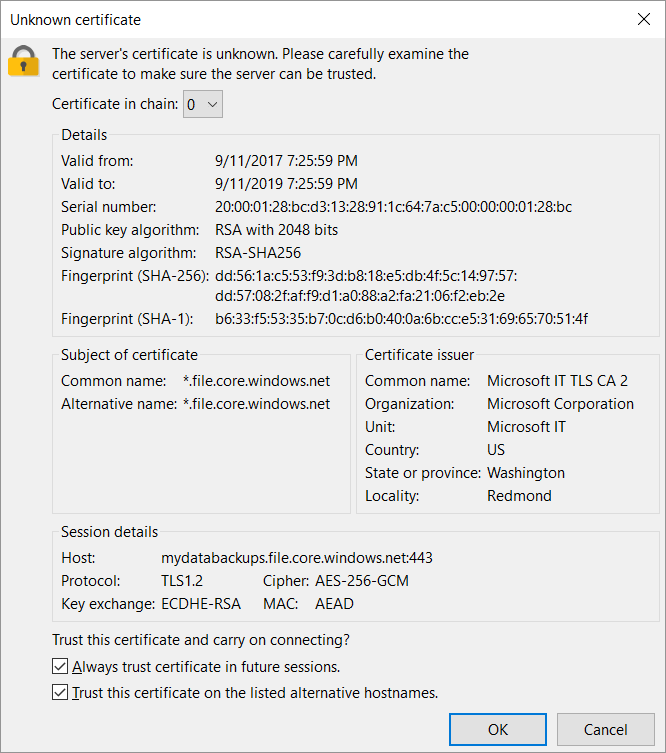
- Check the server certificate details displayed – Common name should include windows.net – and click on OK.
Your Azure directories and files will be displayed in the Remote directories section of the main window.
You can now transfer files between your local machine and your Azure account.
The video tutorial below shows how to connect to Microsoft Azure Cloud with FileZilla Pro.
Microsoft Azure is just the start
FileZilla Pro connects to all major cloud storage providers from a single interface — no extra software, no credential juggling. Transfer files between your local machine and the cloud exactly as you would over FTP.
Video tutorial: How to connect to Microsoft Azure Cloud
Related Topic: