What you’ll need
- An account with your OpenStack provider
- A project ID or account number
- Your login details: user and password
- Your provider identity service host and path
- Your provider identity service API version (2 or 3)
- Optionally a OpenStack domain
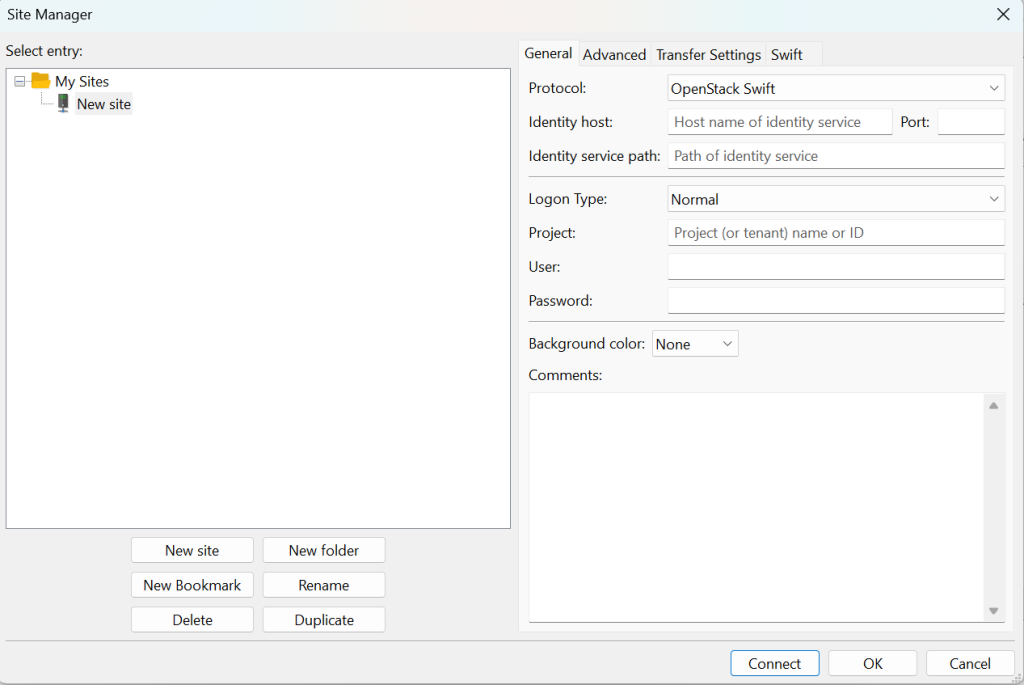
Configuring FileZilla Pro for OpenStack Swift
- In the menu bar, click on File › Site Manager…. See Using Site Manager for more details.
- Click on New Site.
- Select OpenStack Swift from the Protocol drop down list.
- Enter the identity service host in the Identity host field.
- Enter the identity service path in the Identity service path field. For identity service version 3 the path is usually
/v3/auth/tokens - Enter your project ID or account number in the Project field.
- Enter your user ID in the User field.
- Enter your password in the Password field.
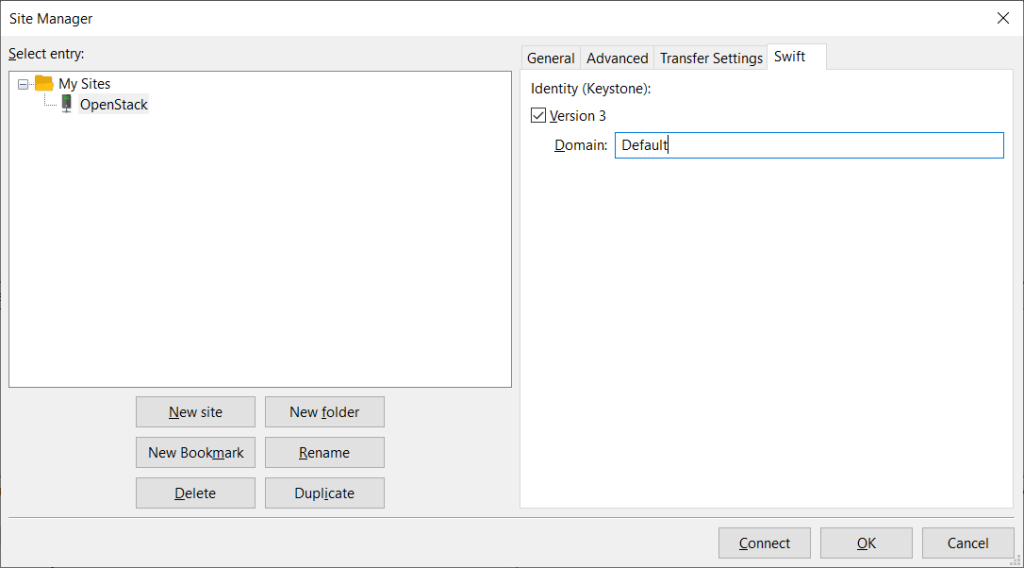
- If the identity service version is 3, in the Swift tab:
- Click on Connect
a. Check the Version 3 option.
b. If you have a domain enter it in the Domain field.
The available regions will be displayed in the Remote directories section of the FileZilla Pro window.
The video tutorial below shows how to configure FileZilla Pro to connect to OpenStack Swift and Rackspace.