Dreamhost is a web hosting provider that also supplies access to an S3 cloud storage service, called DreamObjects. A website administrator needs to back up files to the cloud.
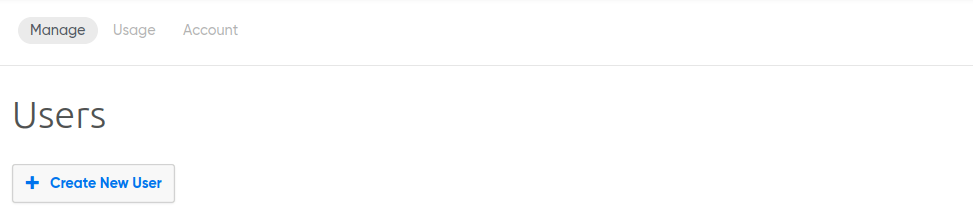
- To set up DreamObjects, log into Dreamhost account and click on the DreamObjects menu option.
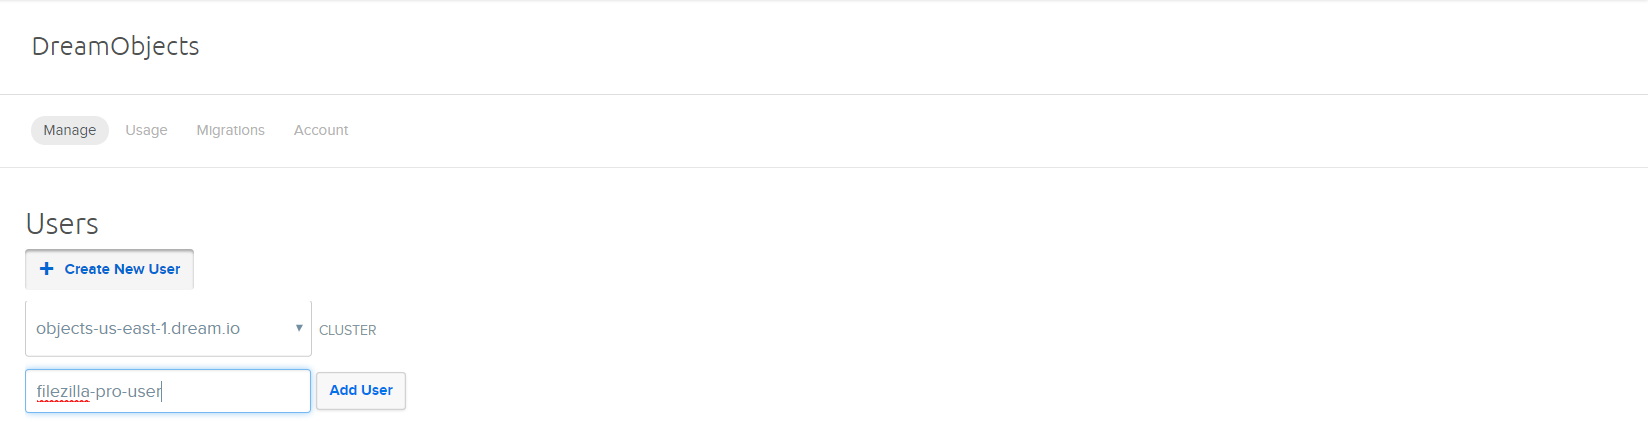
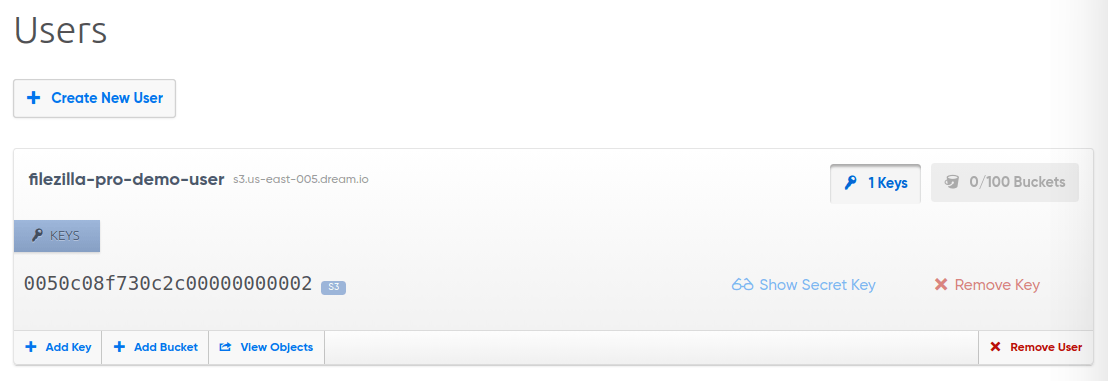
- Click on Create New User and type in filezilla-pro-user.
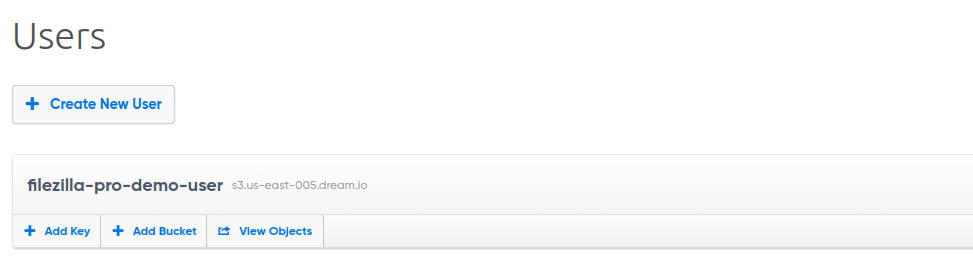
- Click on Add User. When refresh the page, the new user account is displayed.
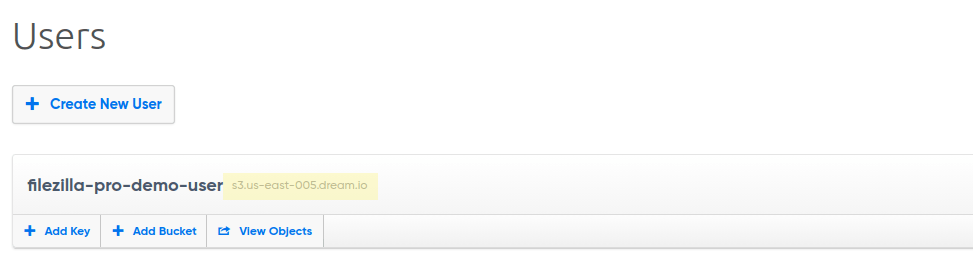
- To get the host address, look at the server information next to new user name (highlighted text).
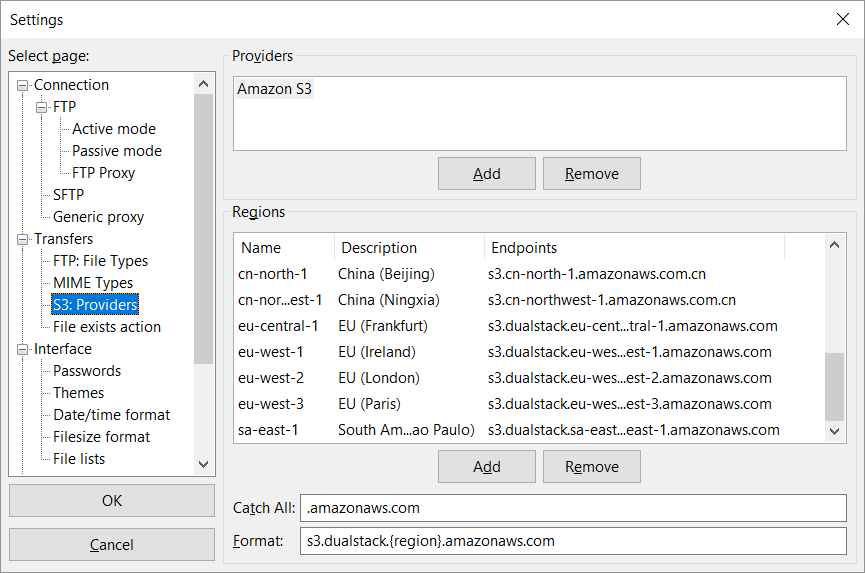
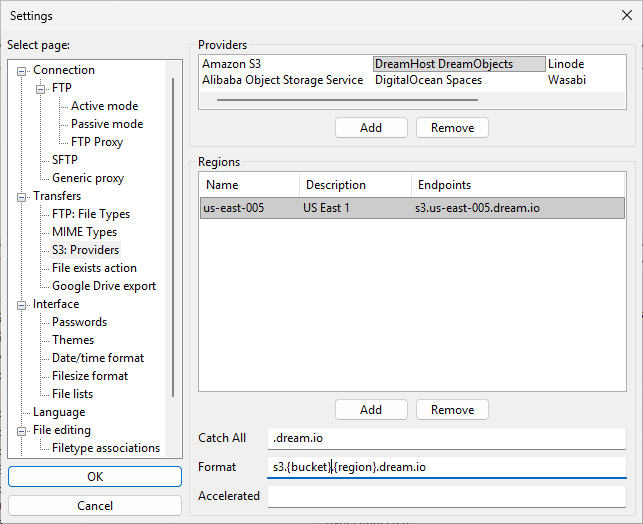
- Set up a new provider in FileZilla Pro called Dreamhost.
- Create a new region and copy the Dreamhost server information into it.
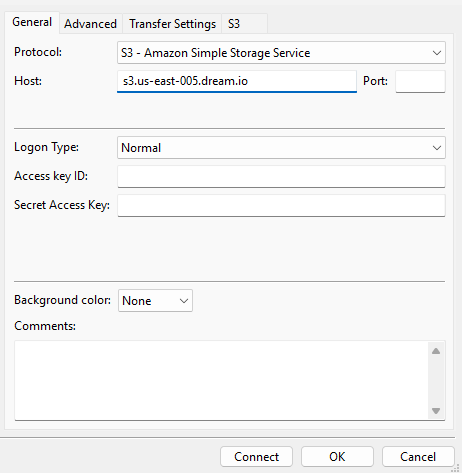
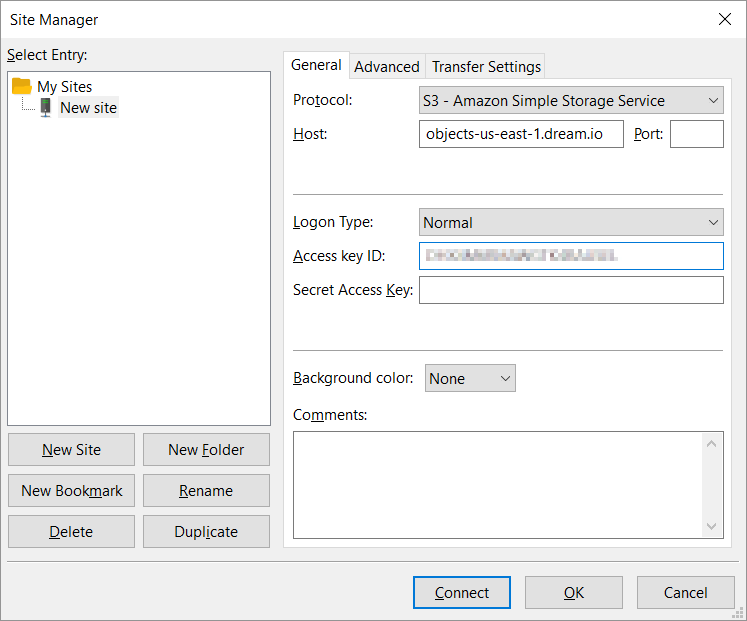
- Copy this into the Host field in FileZilla Pro’s Site Manager window.
- To get the access key ID, click on the user account name.
- Copy and paste the access key into the Access key ID field in FileZilla Pro’s Site Manager window.
- Back in the browser window, click on Show secret key.
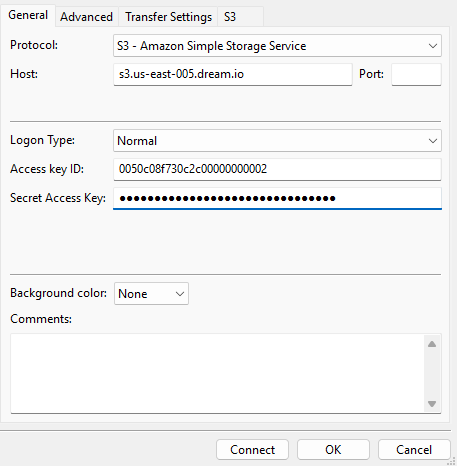
- Copy and paste the secret key into the Secret Access Key field in FileZilla Pro’s Site Manager window.
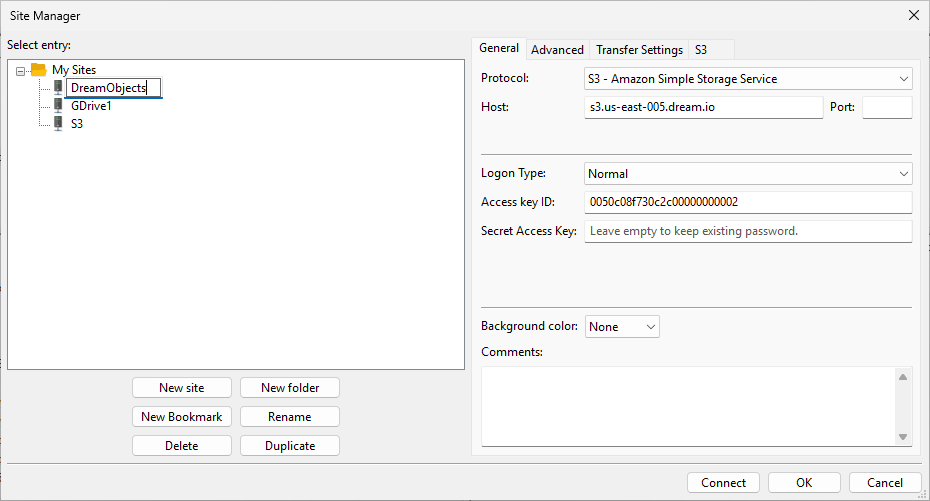
- Then change the name of the connection from ‘New Site’ to something they’ll easily recognize and click on Connect.
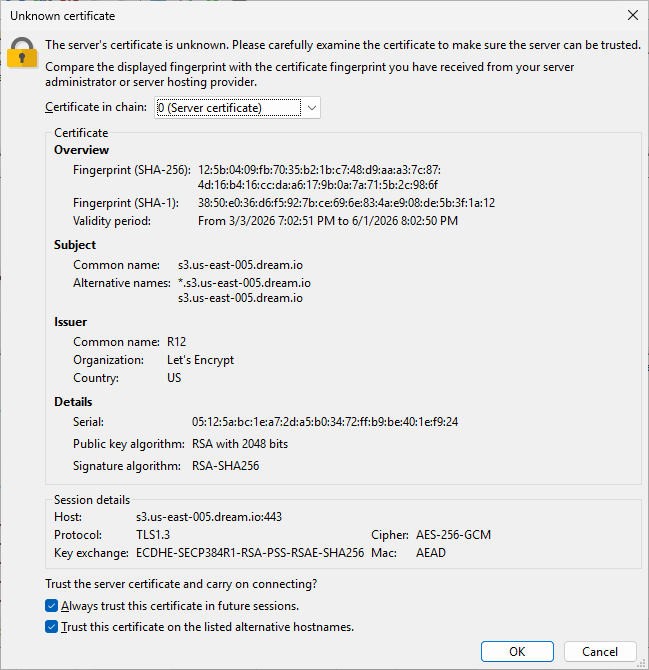
- FileZilla Pro checks the server’s TLS certificate and asks them to verify that the details are as they expect.
- Got the connection information directly from Dreamhost, and know that Dreamhost uses Amazon S3 cloud servers, so click OK.
FileZilla Pro
DreamObjects is just the start
FileZilla Pro connects to all major cloud storage providers from a single interface — no extra software, no credential juggling. Transfer files between your local machine and the cloud exactly as you would over FTP.
Amazon S3
Google Drive
Microsoft Azure
WebDAV
Dropbox
OneDrive