Below you find a step by step guide, if you prefer you can watch our How to Use SFTP video tutorial.
SFTP using SSH2: key based authentication
What you need
Before connecting to an SFTP remote server,make sure you have the following:
- The address of the server, and its port number if it uses a non-standard one.
- Your user ID for the server. This might be different to your usual login for the site. Some servers do not require a login, and will instead allow an anonymous connection (typically for downloads).
- If you have an user ID, your password for the server if that is required. Like your user ID, this might be different to your usual password for the site.
There are three mechanisms for use of the FileZilla/FileZilla Pro with SSH2 keys:
- In the profile settings in the Site Manager. If the SFTP Protocol is specified, it is possible to specify the Logon Type as Key File and specify the location of the private key file (in .ppk or .pem format – see below for conversion options from other formats.) The user is prompted for the password of the key file if necessary.
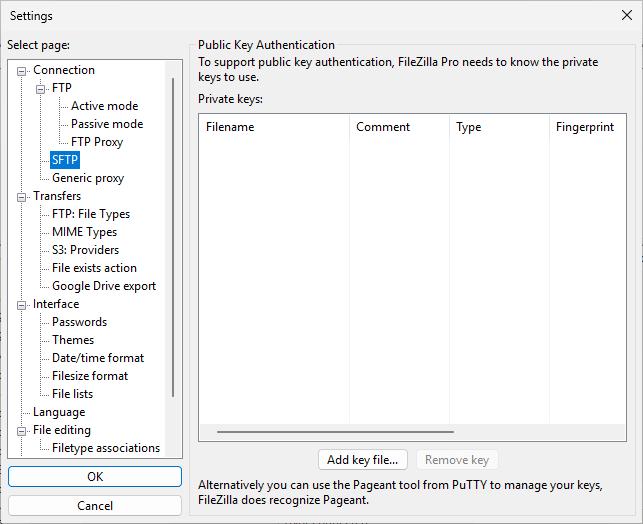
- In the Edit menu, go to Settings. Under Connection › SFTP, you can add the key file. In Site Manager select Interactive logon type to connect to the SFTP site. If it doesn’t work, please contact the administrator to ensure your key has been configured on the server.
- (Windows only) Using PuTTY tools.To allow the use of RSA/DSA key files with FileZilla Pro, you’ll need two tools from PuTTY: Pageant and PuTTYgen (if your key file is not in PPK format).
If your key file is already in PuTTY’s PPK format you can skip this paragraph. However, if your key is in OpenSSH format (PEM), you first need to convert it to the PPK format:- Launch PuTTYgen.
- Go to the Conversions menu, select the Import key option.
- Browse for your key file.
- Enter the pass phrase.
- Save the private key (PPK) file in a location of your choice.
Now run Pageant:
- In your system tray, you see the Pageant icon appear.
- Right-click the icon.
- Select Add Key.
- Browse your private key (PPK) file you saved.
- Enter your pass phrase.
Now simply launch FileZilla Pro and connect to your server using SFTP using SSH2 with a username and an empty password.Do not forget to close pageant after finished.
Alternative method
FileZilla Pro supports the standard SSH agents. If your SSH agent is running, the SSH_AUTH_SOCK environment variable should be set. (Note, the Normal logon type should be set for the site in order to use the SSH agent socket.)
On a Mac
If for some reason you are not using ssh-agent and on a Mac, you don’t need to perform a SSH key conversion. Import your key via Settings and then use Normal logon type in your site connection definition. The imported key will get used.
The following instructions assume you have a working SSH configuration which allows you to ssh to the same host without a password. They are adapted from a thread on superuser.com for your convenience:
- Select Edit › Settings… › Connection › SFTP
- Press the Add key file… button
- Press Command-Shift-G to bring up a path selection window and type
~/.ssh - Select the
id_rsakey file and click Open (this imports the key) - Click OK to close the Settings dialog
- Open File › Site Manager…
- Select the site with which you want to use the key
- Choose Protocol SFTP and select Logon Type Normal.
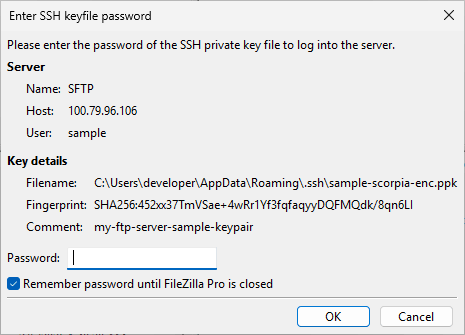
- If the file has a password, enter in the Password field.
- Click Connect and you see your files.
The video tutorial below shows how to connect to a SFTP with Key File.
Video tutorial: How to use SFTP
Related Topic: