To share files and directories, you have two options: creating shared links and collaborations. Collaborations define access permissions to files and folders.
To create a Collaboration:
- Select the files and directories you want to share.
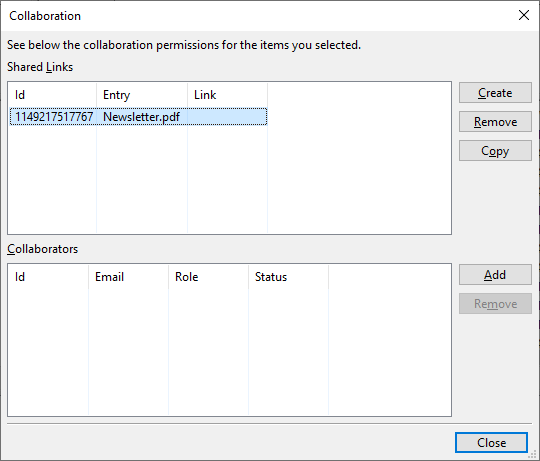
- Right-click and choose Share. This opens the Collaboration window:
- To create a shared link, select an entry in the list and click the Create button.
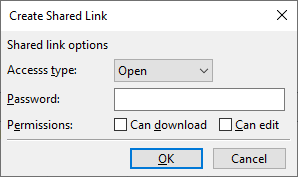
- The shared link window is displayed:
- Select the Access Type:
- Open: allows anyone with the link to access it.
- Company: limit access to people within the company.
- Collaborators: grant access to specific people via an invitation.
- If the Access Type is Open, you can enter a password in the Password field, which will be
required to access the link. - For Access Type Open or Company, enable downloading or editing of the file.
- Click OK and the created link will appear in the list.
To manage shared links:
- Click Remove to delete a shared link; or
- Click Copy to copy the shared link to the clipboard.
To add Collaborations:
- Select one or more entries in the list.
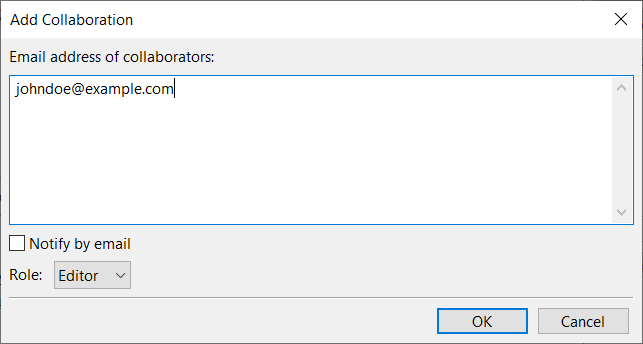
- Clicks the Add button, this opens the Add Collaboration window.
- Enter the email addresses of the collaborators in the text box.
- Check the Notify by email option to send the collaborator an email notification.
- Use the Role option, to determine the level of access granted to the collaborator.
- Click OK.
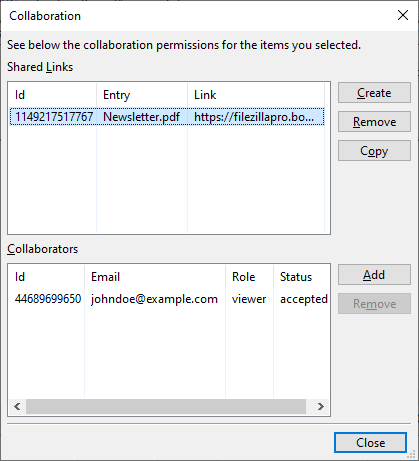
In the Collaboration window, the collaborators list shows the role and status (accepted, pending, rejected) of the Collaboration.
The video tutorial below shows how to share files and directories on Box with FileZilla Pro.