There are a number of ways that you can customize the look and feel of FileZilla/FileZilla Pro to suit you, your display media, and the work that you need to do with it.
Layout options
FileZilla/FileZilla Pro comes with four basic layouts to choose from:
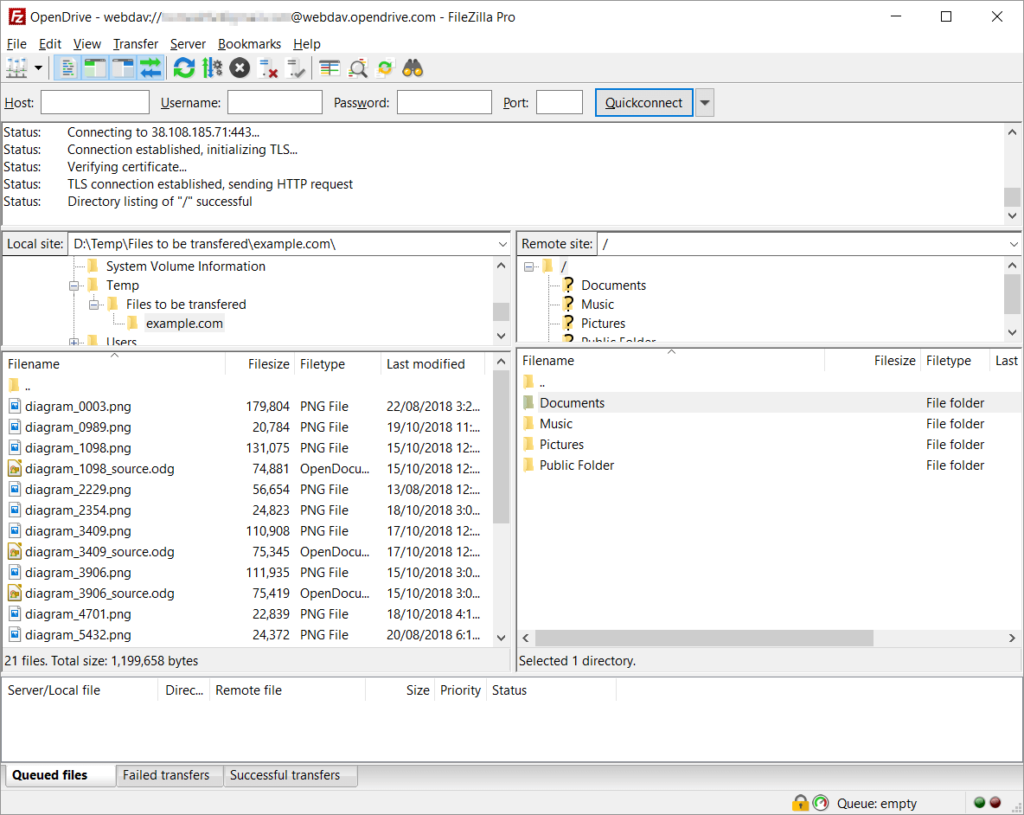
- Classic is the default layout, with remote and local directory structure and files laid out in a grid pattern.
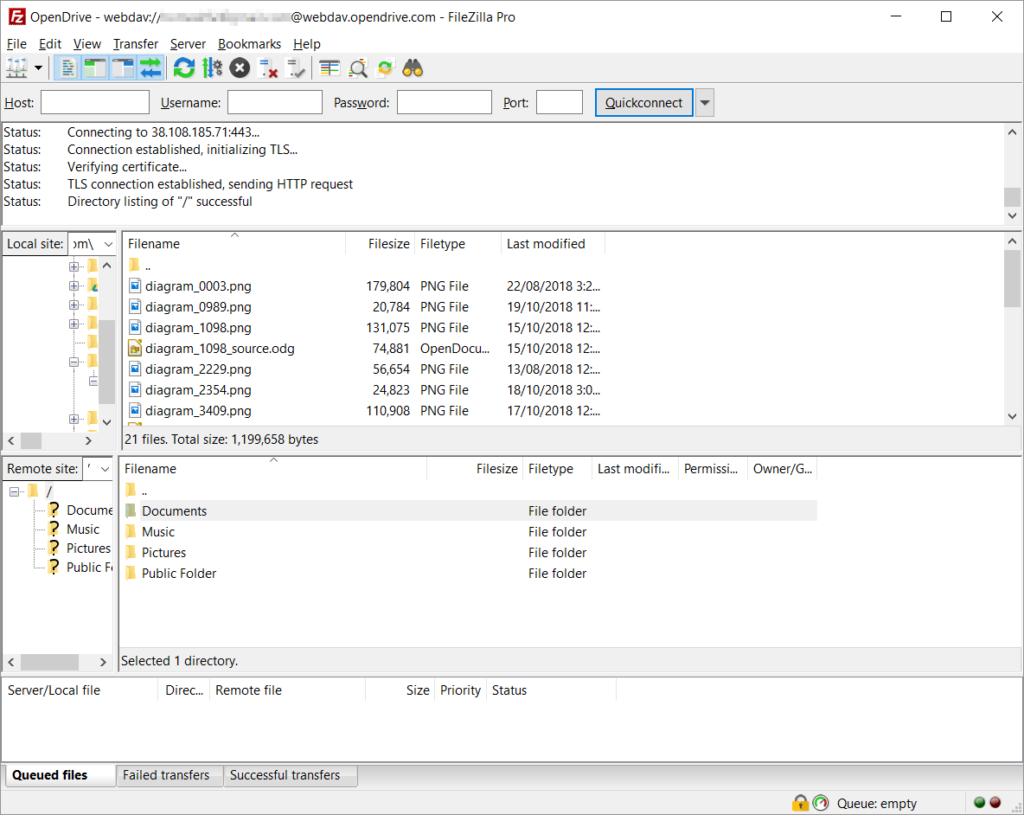
- Explorer is a grid layout that mimics a Windows Explorer look, with directory structure to the side and file displays taking up the majority of the room.
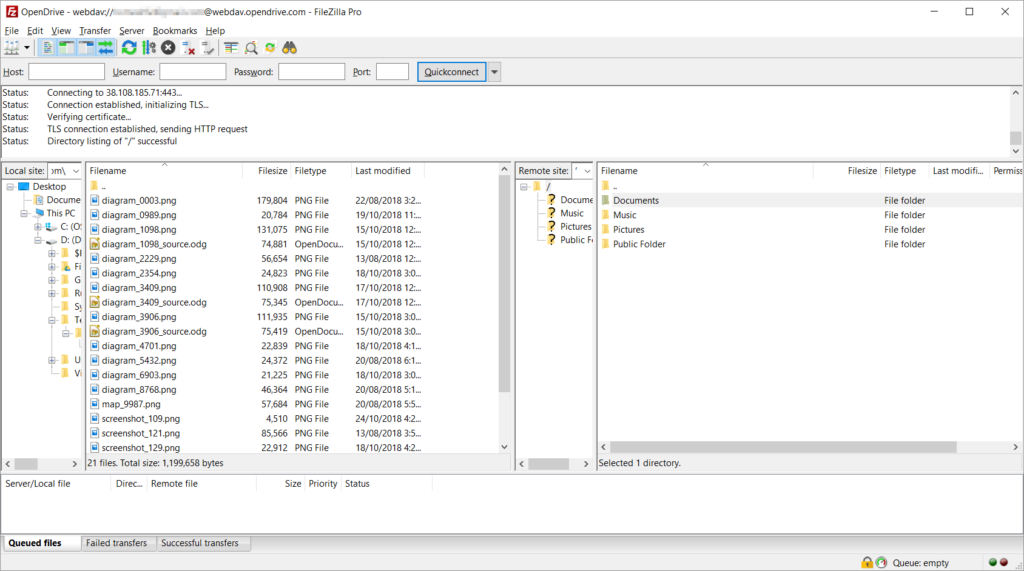
- Widescreen is a horizontal explorer-style look, with all four panes in a single row.
- Blackboard is another horizontal layout, with all four panes in a single row, but with remote directory structure and files panes swapping places.
To change the layout for FileZilla/FileZilla Pro’s main window:
- In the main menu, click on Edit > Settings….
- Select Interface from the menu on the left.
- Select your preferred layout from the Layout of file and directory panes drop down list.
- Click on OK.
Change message log position
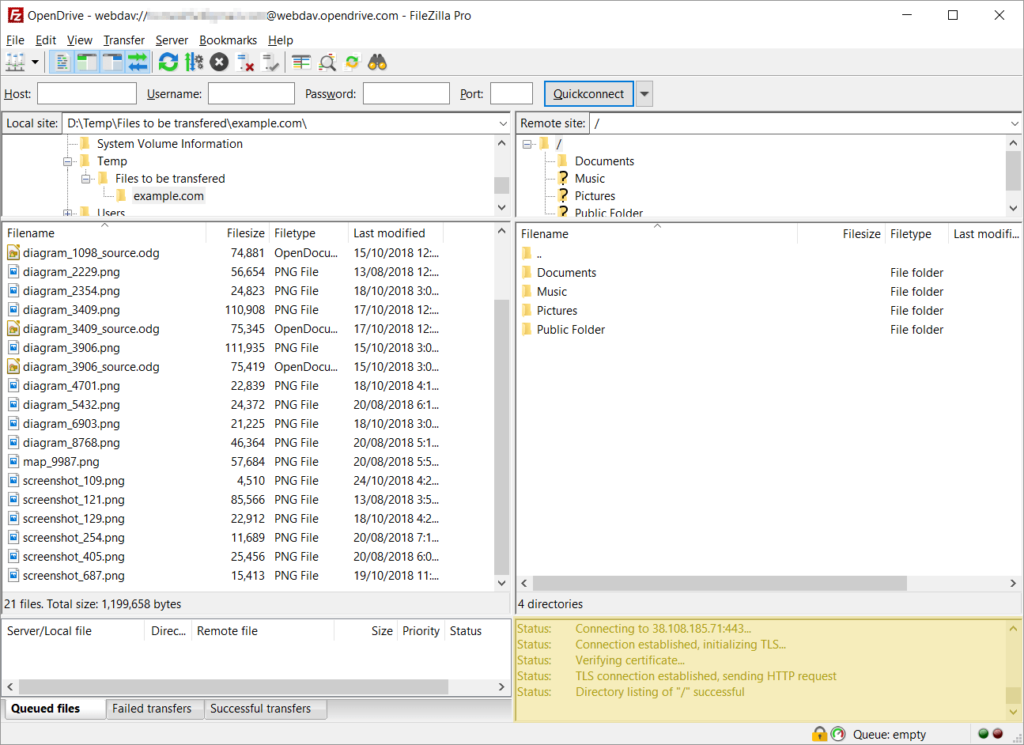
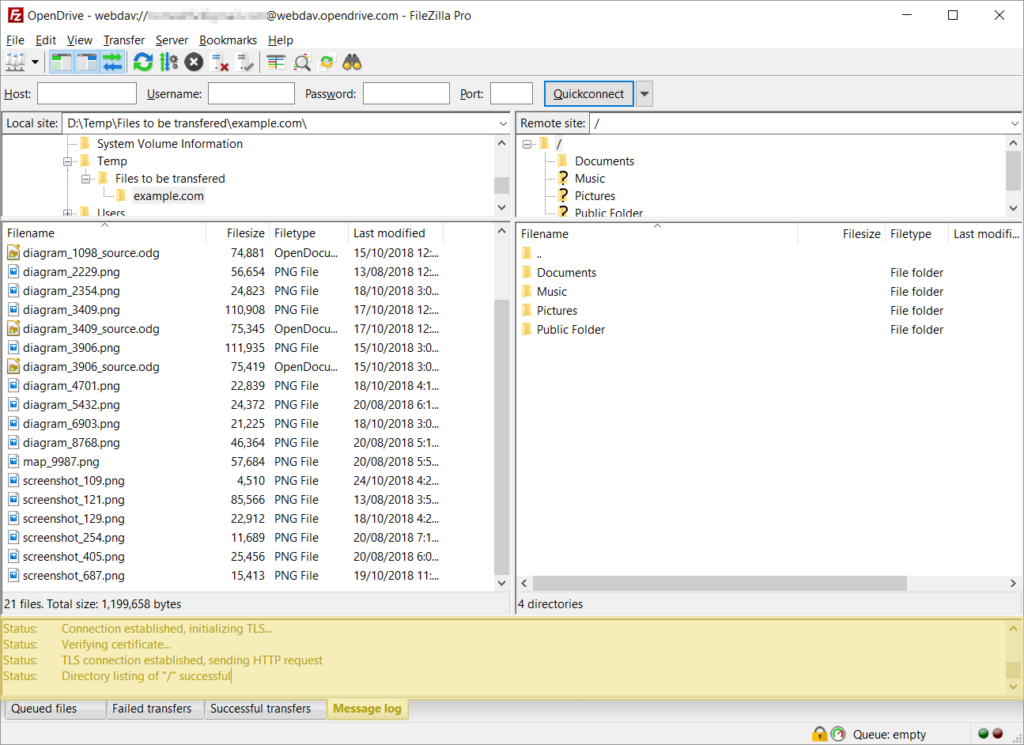
There are three positions available for the message log in the main window:
- default top position.
- at the bottom of the window as a pane in the same row as the Transfer Queue.
- as an additional tab in the Transfer Queue.
- In the main menu, click on Edit > Settings….
- Select Interface from the menu on the left.
- Select your preferred option from the Message log position drop down list.
- Click on OK.
- In the main menu, click on Edit > Settings….
- Select Interface from the menu on the left.
- Tick the Swap local and remote panes checkbox.
- Click on OK.
To change the position of the message log:
Change position of local and remote directories and files panes
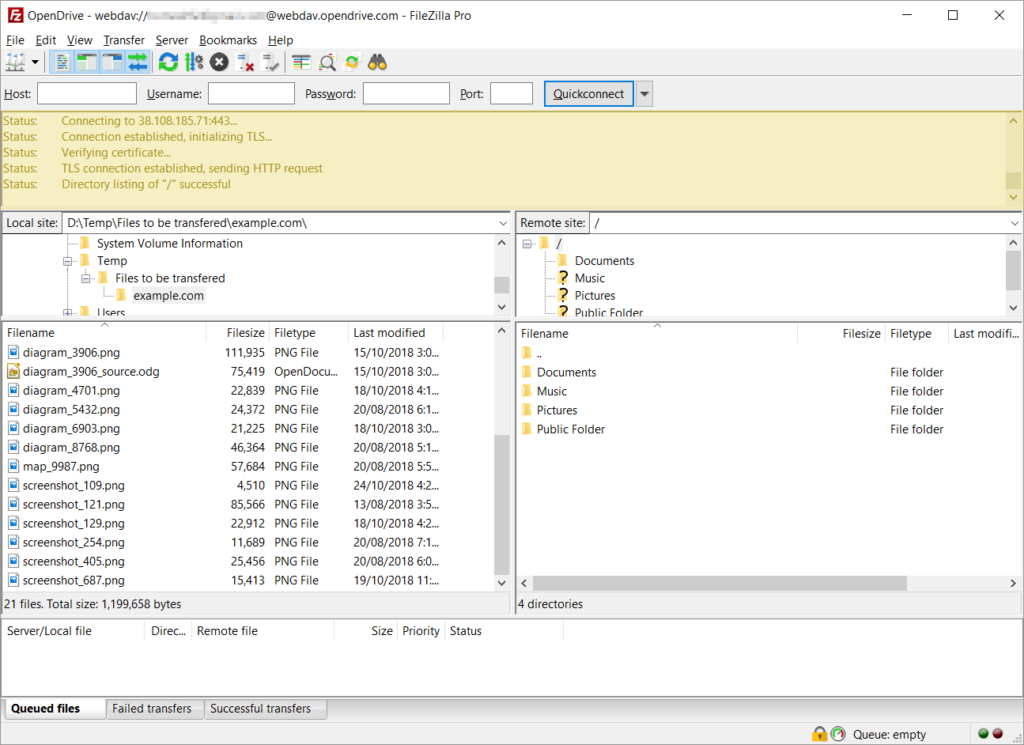
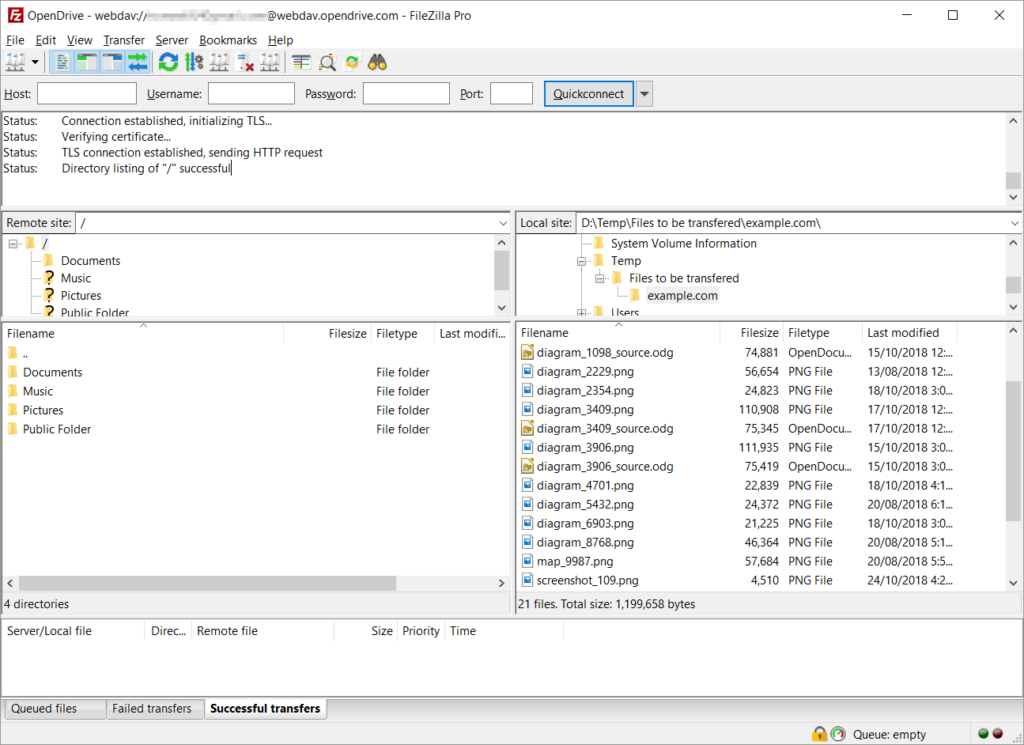
You can switch the positions of local and remote site panes. By default, local site information is on the left, and remote site information on the right.
Standard layout:
Swapped layout:
To switch local and remote information:
The video tutorial below shows how to change the user interface settings.