Please follow the next steps to configure FileZilla Pro RemoteDrive to connect to WebDAV.
- Open FileZilla Pro RemoteDrive: Launch the application or click on its icon if active.
- Add a Server: Click on +Add server.
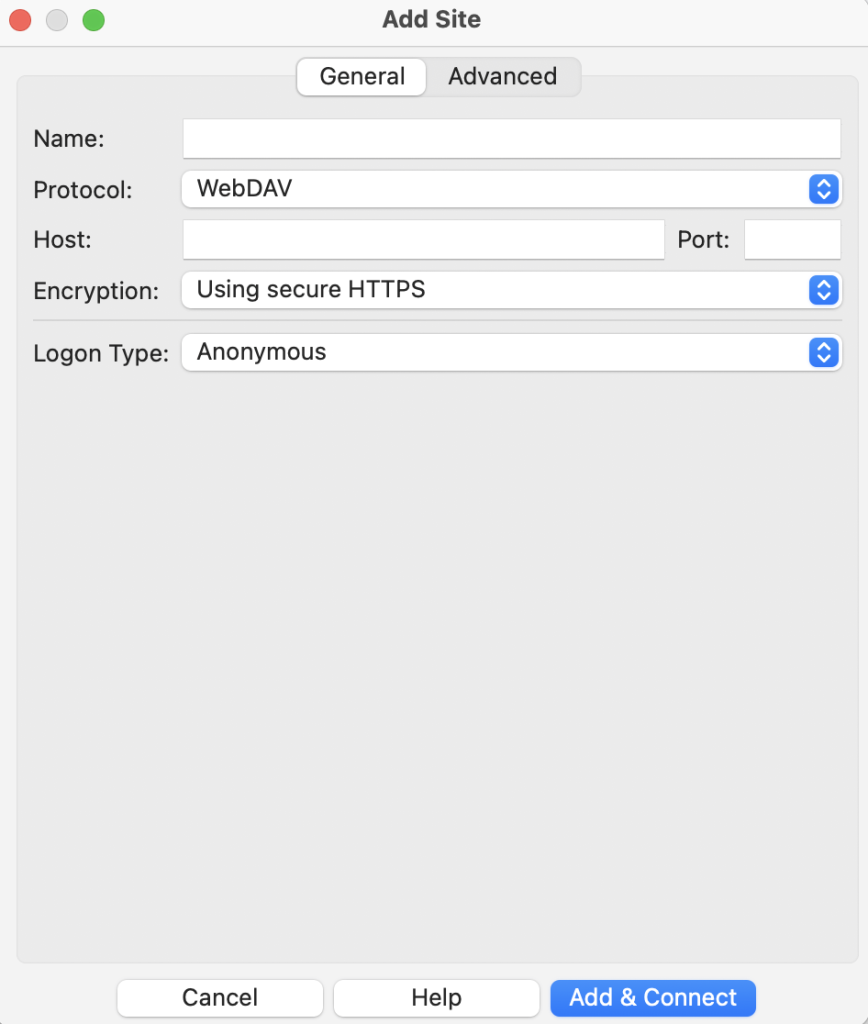
- Choose Connection Type: From the top-down menu select WebDAV.
- Label Your Connection: In the “Name” field, enter a label for your connection.
- Configure Connection Details:
- Enter the host name in the Host field.
- If available enter the port in the Port field.
- Select Using secure HTTPS if supported, Using insecure HTTP if not.
- Note: using HTTP credentials are transmitted in clear-text and it is insecure.
- Set credentials information:
- Enter the user name in the User field.
- Enter the password in the Password field.
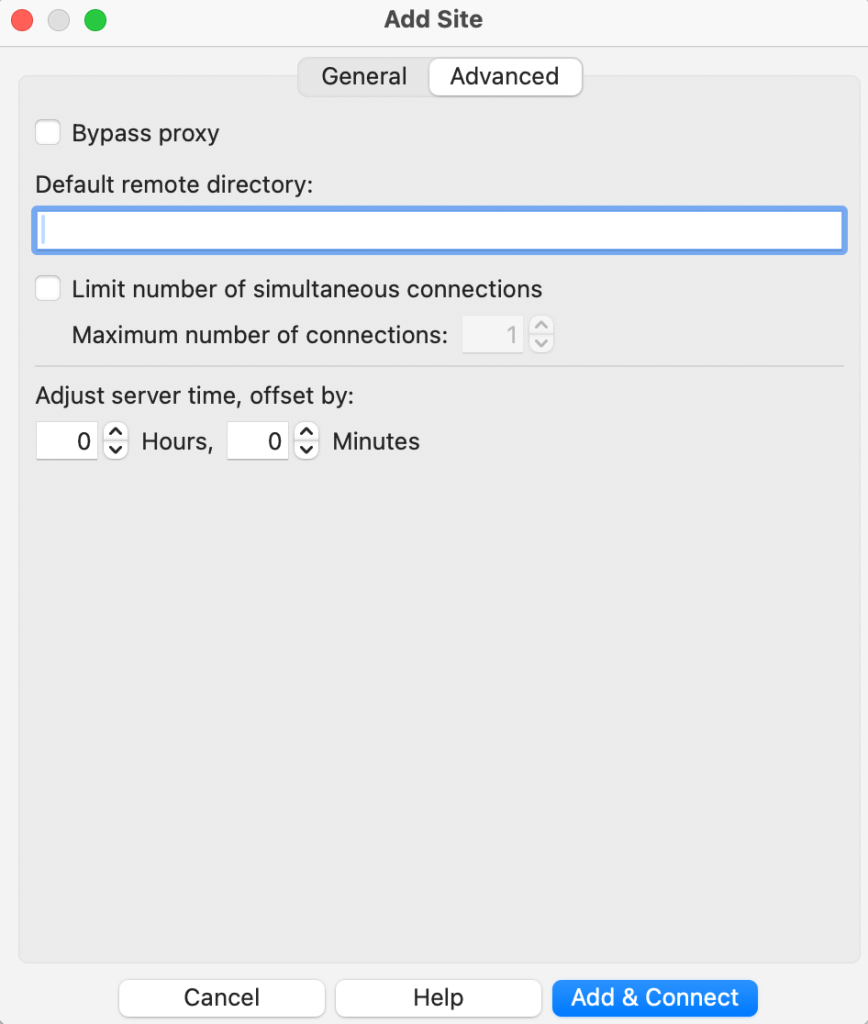
- Advanced configurations: If the URL given to you by your provider includes a path, like provider.com/webdav, enter the path (/webdav) in the Advanced Tab, Default Remote Directory field. Make sure the path starts with a slash.
- Click Add & Connect to establish the connection.
The video tutorial below shows how to set up WebDAV with RemoteDrive.