By default, FileZilla/FileZilla Pro regularly checks whether updates have been released.
If a new version is available, New version available! will be displayed in the main menu, to the right of the Help option.
FileZilla/FileZilla Pro may also ask on startup if you wish to update to the newest version.
To update FileZilla Pro:
Windows
- Click on New version available or Help > Check for Updates.
- If you have not previously registered your copy of FileZilla Pro, you might be asked to provide registration details:
- Enter either your registration key or the email address you used to buy FileZilla Pro and the order number.
- Click OK.
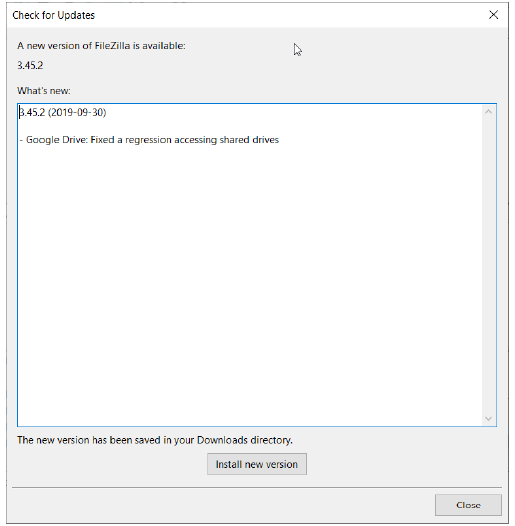
- A Check for Updates dialog box is shown. Click on Install new version.
- Windows might ask if you want to allow this application to run. Click on Yes.
The new version of FileZilla Pro will be installed.

To update FileZilla:
Windows
If FileZilla asks if you want to update, click on Install new version. Alternatively, click on New version available.
Windows might ask if you want to allow this application to run. Click on Yes.
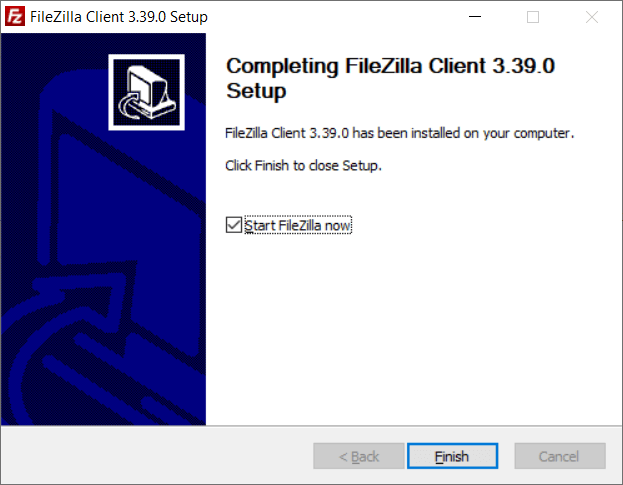
The new version of FileZilla will be installed.
Update from download
You can also update using a downloaded executable file.
- Download the most recent version of FileZilla/FileZilla Pro.
- Run the downloaded executable.
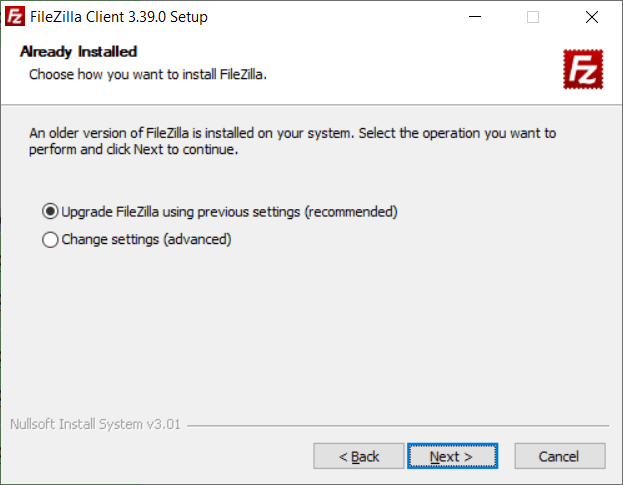
If the installation detects an older version, it will display a message like this: - Select Upgrade FileZilla using previous settings and click Next.
FileZilla/FileZilla Pro will update. - Click Finish.
- Click on Install new version.

- MacOS might ask if you want to allow this application to run. Click on Open.
The new version will be installed.
MacOS
MacOS App Store
The App Store application will notify you when a new version of FileZilla Pro is available.