This feature is only available on FileZilla Pro, if you didn’t buy it yet you can buy FileZilla Pro from our Store.
Below you find a step by step guide, if you prefer you can watch our How to Connect to S3-Compatible Storage Providers tutorial.
To upload files using a third-party S3 service it is necessary to have:
- An account with a hosting service that provides S3 cloud space.
- Connection information for the S3 service – typically this will consist of:
- host address
- host port
- access key ID
- secret access key
- at least one endpoint address.
Setting up regions
- In the menu bar, click on Edit > Settings….
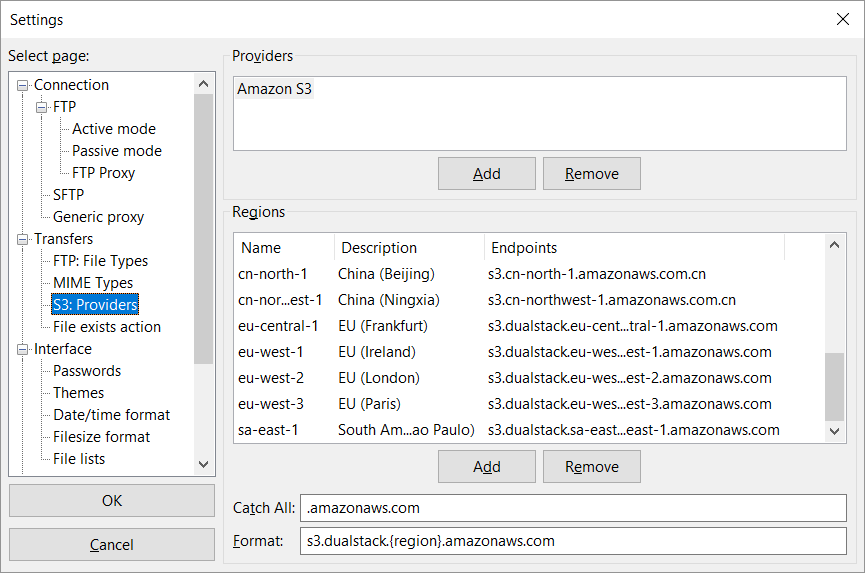
- Select Transfers > S3: Providers from the menu on the left.
- Click on the Add button under the Providers list.
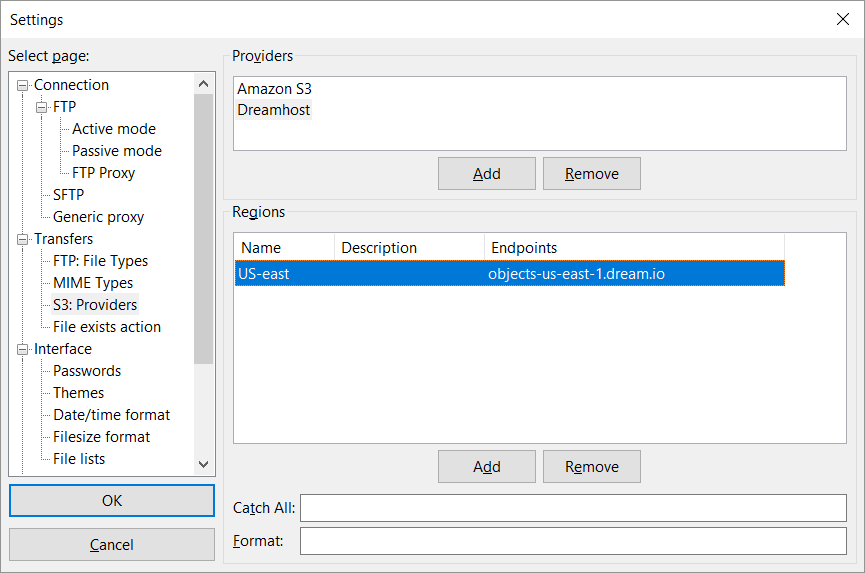
- Enter the name of the hosting provider.
- Press ENTER on your keyboard.
- Highlight the new hosting provider.
- Click on the Add button under the Regions list.
- Enter a name for the region and then press ENTER on your keyboard.
- Enter a description, if desired, by clicking on the Description column in your new
region row. - Click on the Endpoints column of the new region row and enter an endpoint address for the hosting provider’s S3 service. It will typically be in the format of <subdomain>. <domain> .<extension>.
- Click on OK.
Configuring FileZilla Pro
- In the menu bar, click on File > Site Manager….
- Click on New Site.
- Select S3 – Amazon Simple Storage Service from the Protocol drop-down list.
- Enter the required connection information.
- Click on Connect.
Your file storage buckets will be displayed in the Remote directories section of the FileZilla Pro window.
The video tutorial below shows how to connect to S3-compatible storage providers.

