To upload or download files via FTP first you need a FTP Account.
Below you find a step by step guide, if you prefer you can watch our How to Update your Blog video tutorial.
To create a new FTP account:
- Choose FTP accounts
- Enter the new account id
- Enter and repeat the password
- Click on Create an FTP account.
Note: In the directory enter the path to your blog installation, in this case it is the standard WordPress installation path. Contact your hosting provider or system administrator if you don’t know the path.
To create a new connection on Site Manager:
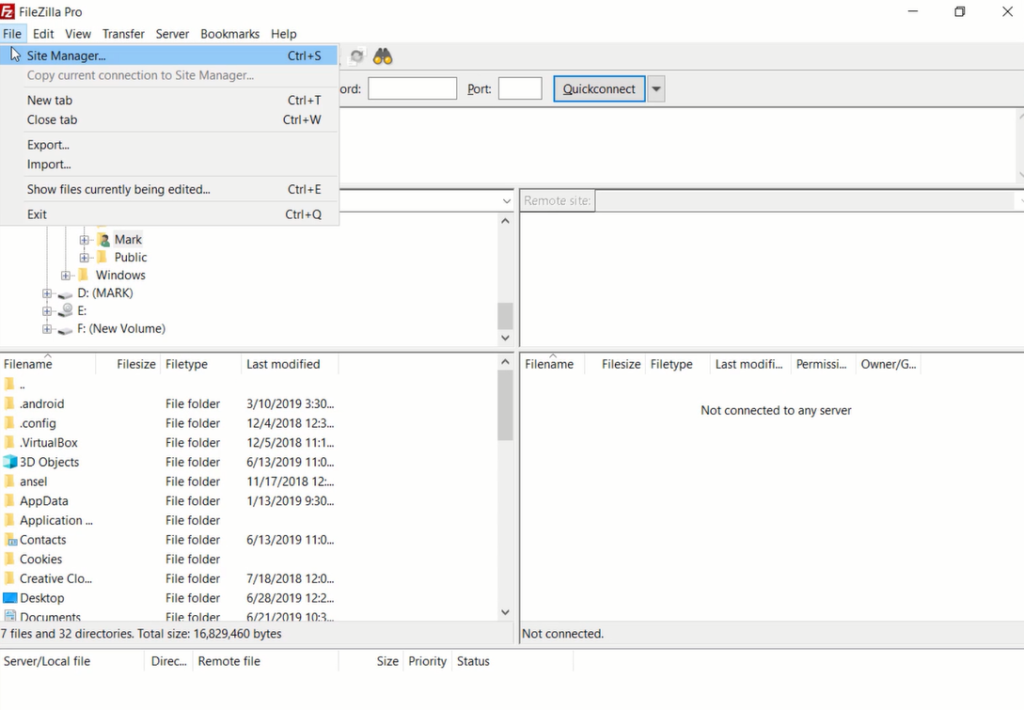
- Open File > Site Manager.
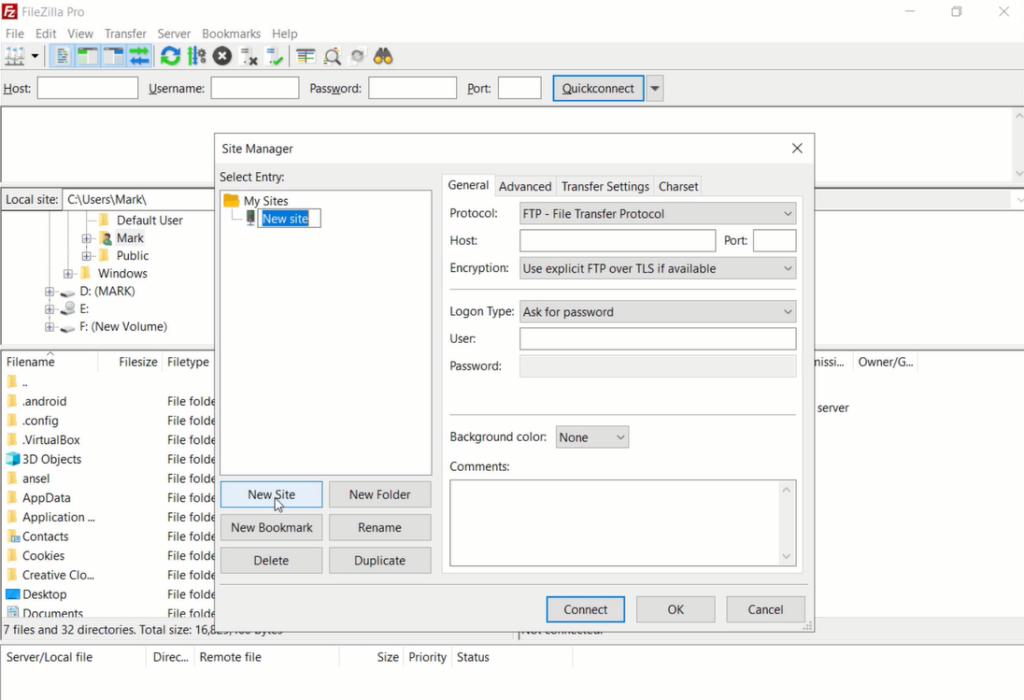
- Select New Site and provide a title for your website.
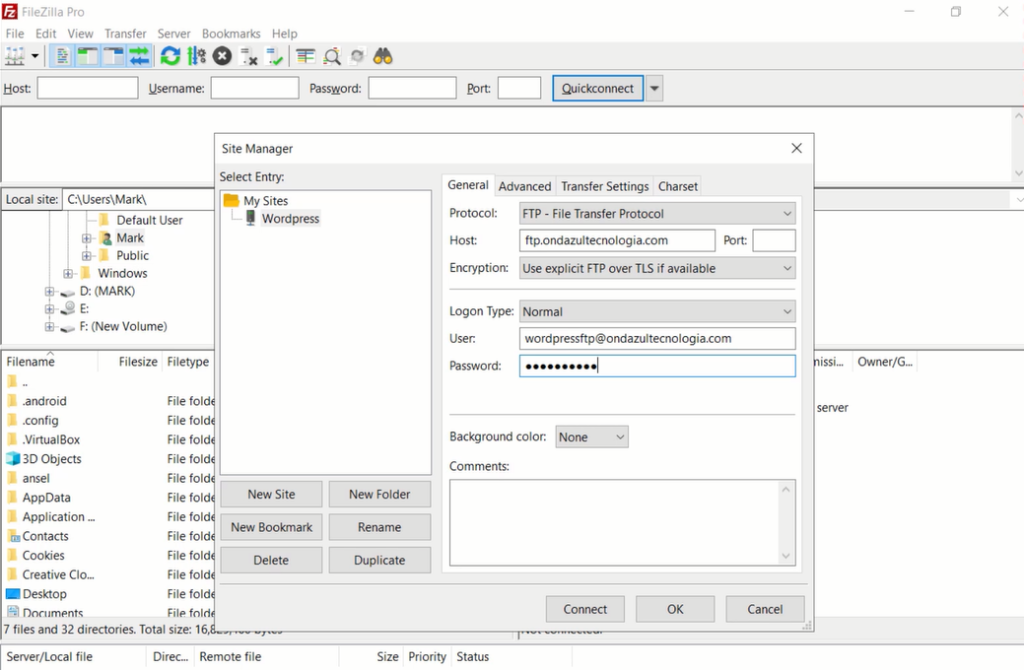
- Fill the host name with user and password.
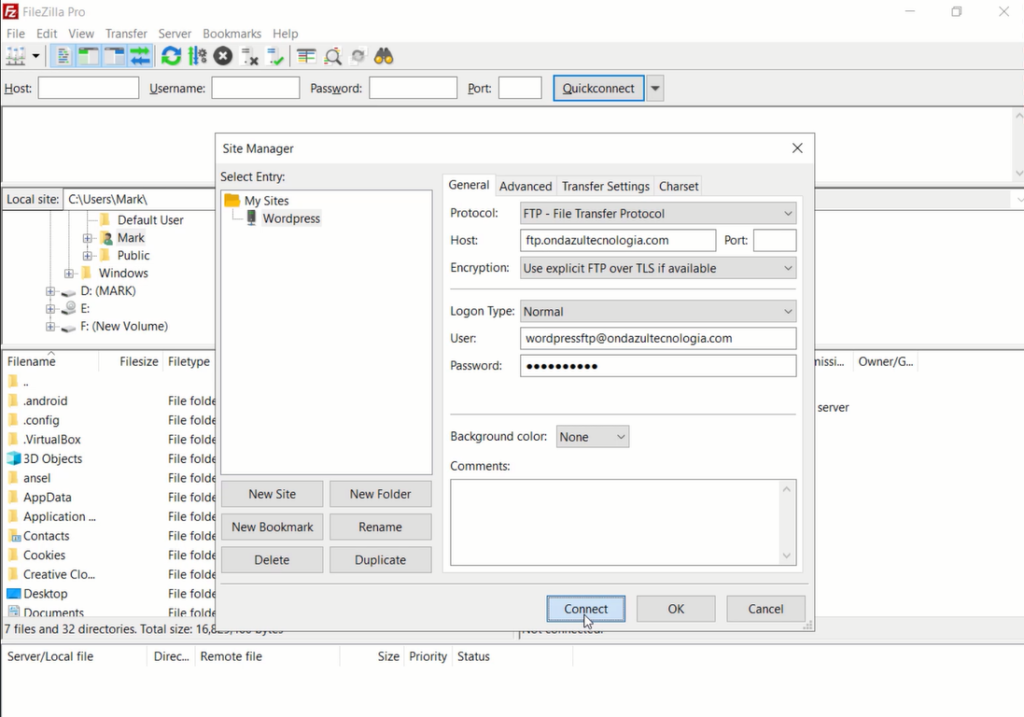
- Click Connect.
After the successful connection you will see on the right side your wordpress files, you can now edit your files.
The video tutorial below shows how to update your WordPress Site with FileZilla/FileZilla Pro.