Use site synchronization to keep your site entries updated between different FileZilla Pro
installations.
This feature is only available on FileZilla Pro, if you didn’t buy it yet you can buy FileZilla Pro from our Store.
Below you find a step by step guide, if you prefer you can watch our How to Use Site Synchronization video tutorial.
To configure site synchronization:
- In the main menu, click on File > Site synchronization.
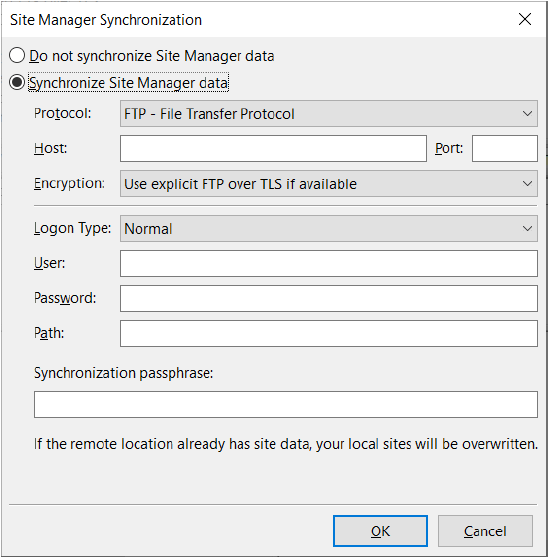
The Site Manager synchronization window will be displayed. - Choose Synchronize Site Manager data.
- Choose a protocol and its connection information. The connection information details
depend on the selected protocol. See Protocols Supported by FileZilla Pro. - Enter the path where the synchronization data will be saved. Make sure you have
write access to the location otherwise FileZilla Pro is not able to save the data. - Enter a synchronization passphrase to protect the synchronization data. The password
has to be at least 8 characters long. Use a long passphrase for better security.
An encryption key is derived from this passphrase. The encryption key is used to
encrypt the site manager data.
FileZilla Pro will then save the site manager data.
In other FileZilla Pro installations configure using the same protocol, path and passphrase.
FileZilla Pro will restore the site manager data.
Synchronization happens each time you open the Site Manager on any of your FileZilla Pro
installations.
Warning: Ensure you keep the passphrase in a safe place. If you lose or forget the
passphrase you’ll be unable to synchronize the site manager data.
Warning: for security reasons authentication tokens and the master password are not synchronized. You’ll need to enter the password and authenticate every time you launch FileZilla Pro.
To disable the site synchronization:
- In the main menu choose File > Site synchronization.
- In the Site Manager Synchronization dialog box choose Do not synchronize Site Manager
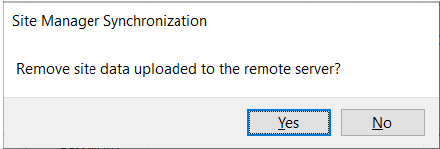
data. - Click OK. A confirmation windows is shown
- Click No if you don’t want to remove the site data from the remote server.
Note: The local site manager data is not wiped out, no matter how you configure the synchronization.
If the remote site manager data is not reachable, for example if the remote server is down,
you can select the Offline mode. Note that in this case new site entries won’t be updated:
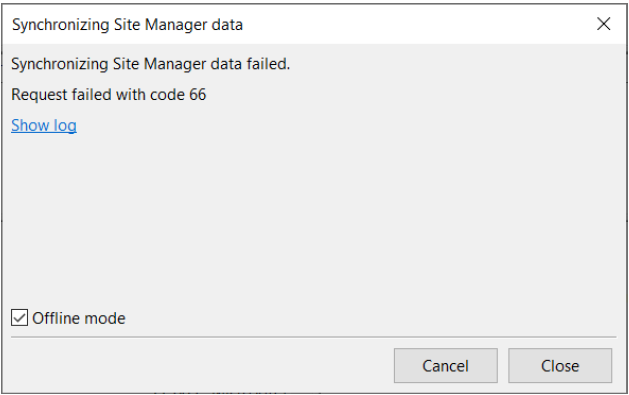
In offline mode local changes to site data are cached and will be synchronized the next time
the connection is established.
Handling Conflicts
When both the local and remote data have changed FileZilla Pro detects the conflict:
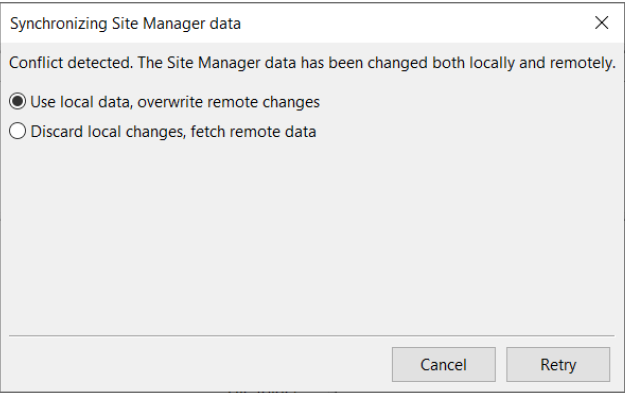
Choose User local data to upload your local data to the remote. Or, Discard local changes to overwrite your local data with the remote one.
The video tutorial below shows how to use Site Synchronization to keep your site entries updated between different FileZilla Pro installations.