Installing FileZilla/FileZilla Pro on Mac is easy.
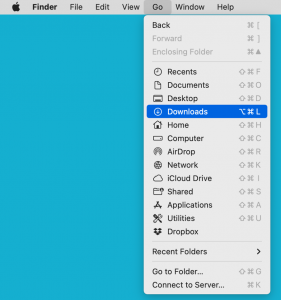
- Open your Downloads folder. Typically, you can do this by selecting Go > Downloads from the main menu.
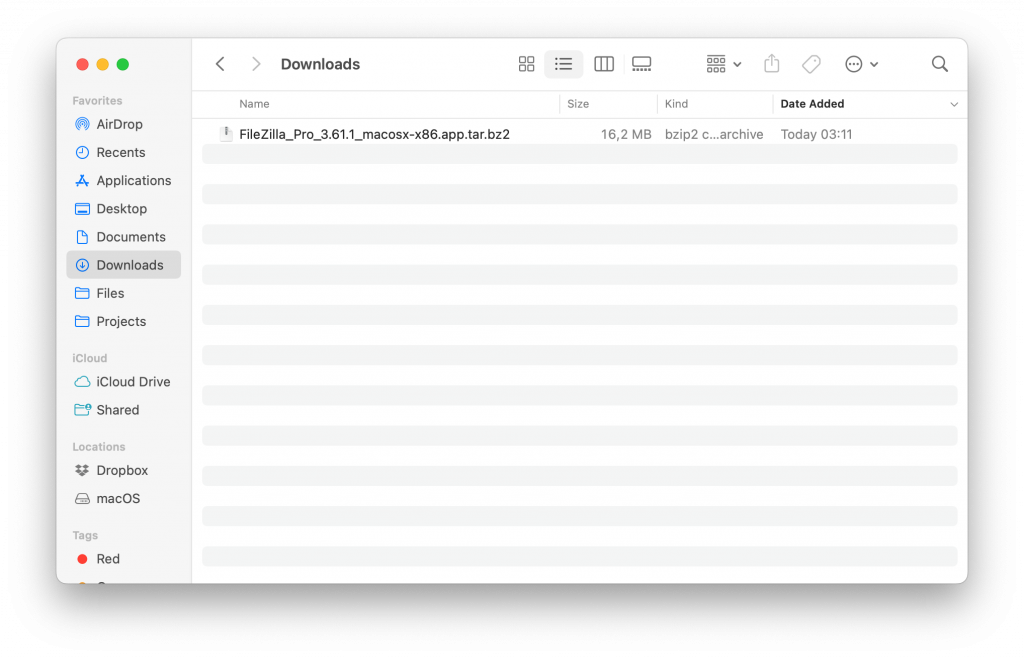
- Find the FileZilla/FileZilla Pro installation file. It will be named something like FileZilla_macosx-x86.app.tar.bz2.
- Double-click on the installation file.
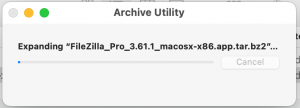
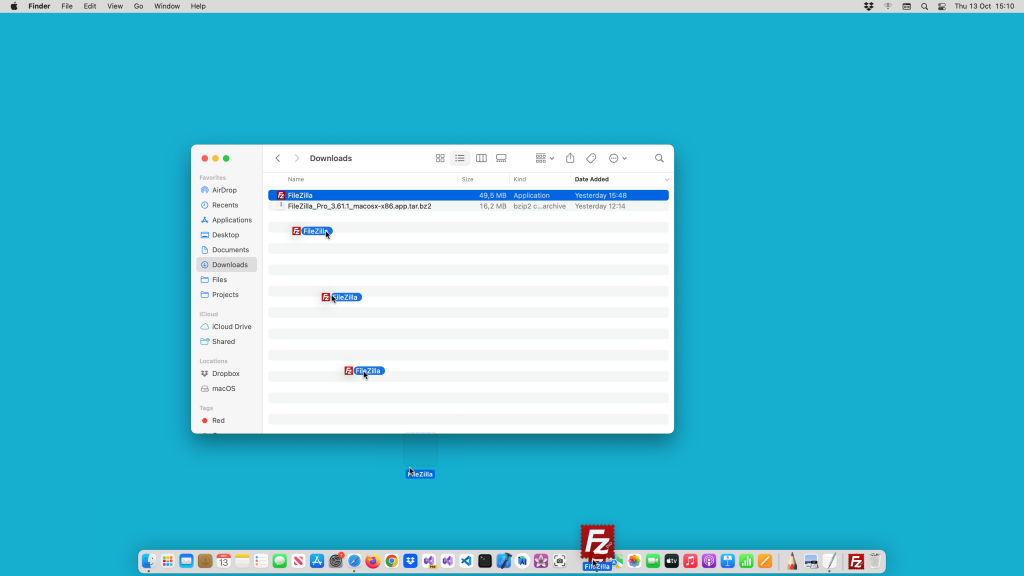
The file will be unzipped. - Drag the FileZilla/Filezilla Pro icon to the taskbar so that you can easily find it again.
- Open FileZilla Pro.
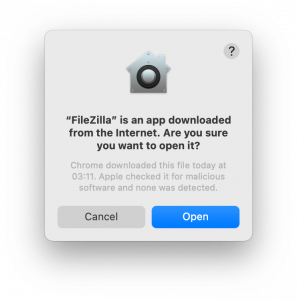
You might see a warning, asking if you want to open the program. If you bought it from the FileZilla Pro website (https://filezillapro.com/) it is safe to open it.If you subscribed to FileZilla Pro via App Store, please refer to the MacOS App Store Installation instructions.
- Click on Open.