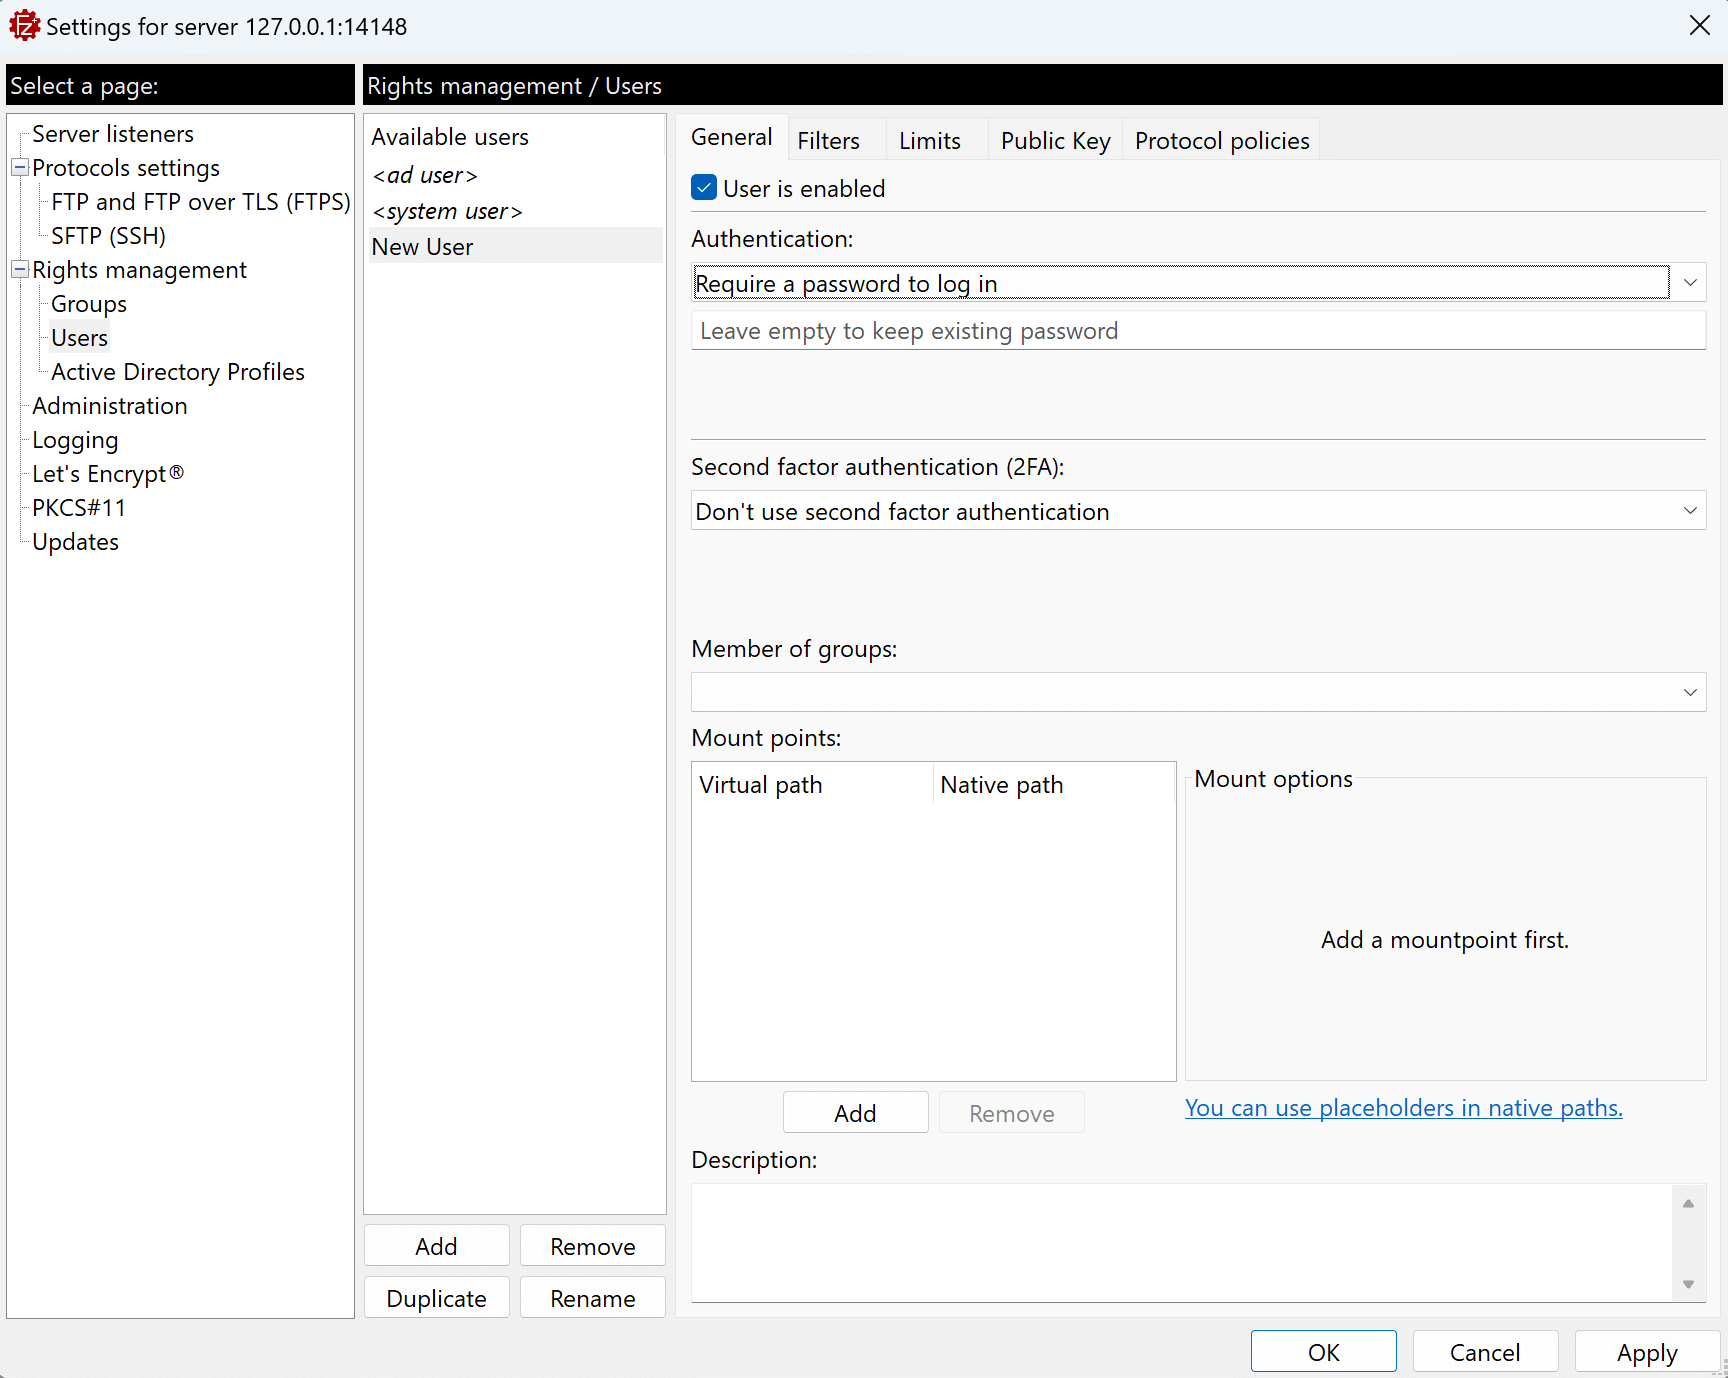
To create a user, click on the Add button at the bottom of the list on the left of the Users panel.
To rename, duplicate, or remove a user, select it in the list on the left of the Users panel, then click the corresponding button (Rename, Duplicate, or Remove).
By default, two special users are already present: the system user (<system user>) and the Active Directory user (<ad user>). These users act as fallbacks, letting the authentication be performed with system or AD credentials and impersonate the corresponding account when no user with the same name is explicitly defined in FileZilla Pro Enterprise Server. Special users cannot be renamed, duplicated or removed and are disabled by default, to ensure no users are active at installation.
User configuration
After creating a user, the first step is to set up their authentication method in the General tab.
For security reasons, new users are by default set to the Require a password to log in authentication type.
You can, however, assign a different authentication method if needed.
Users can authenticate in four ways:
- Do not require authentication – grants access without credentials;
- Require a password to log in – users authenticate with a username and a password;
- Use system credentials to log in – credentials verified by the operating system;
- Use Active Directory credentials to log in – credentials verified by the AD.
See below for a detailed description of the available options.
Do not require authentication
With this option, the user can log in without providing credentials. Please note that in this case you cannot configure either a Public Key or a Second Factor Authentication (2FA) for that user.
Require a password to log in (default)
This is the default option for all new users. Each user must log in with the password you assign. Be sure to communicate passwords securely.
Use system credentials to log in
When this option is selected, FileZilla Pro Enterprise Server delegates credential verification to the operating system on which it is running. If you also enable Use system credentials also for accessing files and directories option, the user will inherit the access rights of their operating system account. These rights may still be further restricted by mount point settings.
Note: The special user <system user> is preset to Use system credentials to log in, as it is intended solely to impersonate operating system users.
Use Active Directory credentials to log in
This option allows users to log in using their existing Active Directory credentials. FileZilla Pro Enterprise Server delegates the authentication to one or more Active Directory servers and can optionally retrieve additional user information, such as their mount points and permissions.
Note: The special user <ad user> is preset to Use Active Directory credentials to log in, as it is intended solely for use in conjunction with Active Directory.
Enhancing Authentication with Public Key and 2FA
Optionally, Public Key Authentication and Second Factor Authentication (2FA) can be added on top of the main authentication types—except for Do not require authentication. Rather than being alternatives, they provide independent layers of security. While the four primary types determine how the server verifies a user’s identity, Public Key and 2FA strengthen that verification. See the respective paragraphs for instructions on how to
enable them.

The video tutorial below shows how to create a user and set up a second factor authentication with FileZilla Pro Enterprise Server.
Video tutorial: FileZilla Pro Enterprise Server: How to Set Up a Second Factor Authentication
Related Topic: