To generate a new self-signed certificate, click the Generate new button. A dialog will ask you to enter:
- The Distinguished Name
- The applicable hostnames for the new certificate.
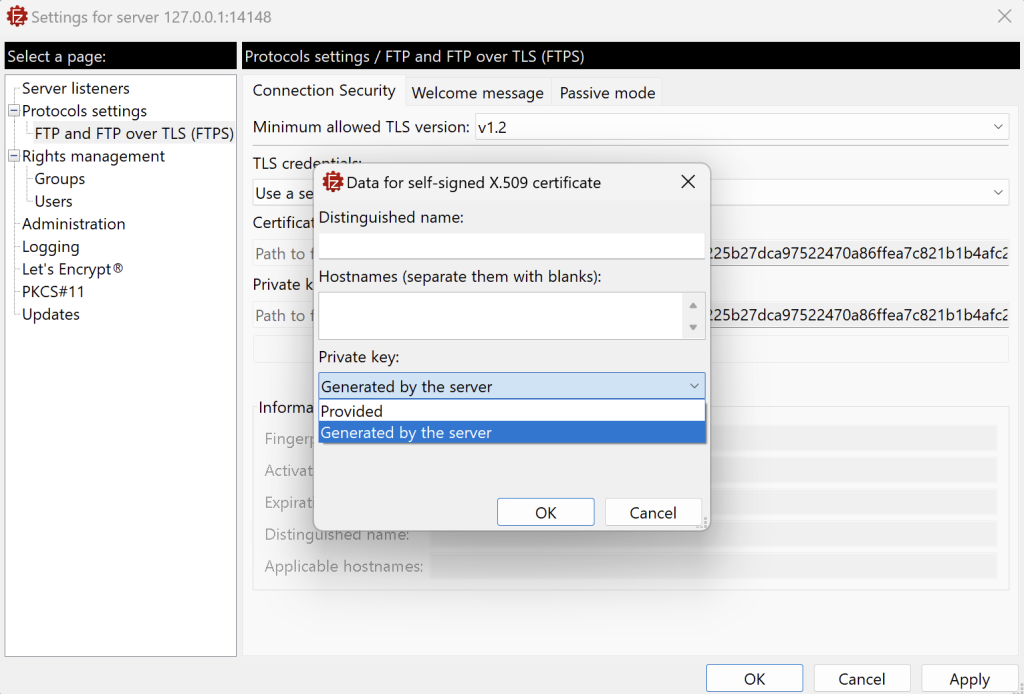
Both the fields can be left empty. If left empty the Distinguished Name will default to: CN=filezilla-server self signed certificate.
Providing a properly structured Distinguished Name (DN) helps clients and systems verify the identity of your server. This can prevent trust warnings and compatibility issues in certain environments.
If such issues arise, they are often caused by an incomplete or placeholder DN. In that case, we recommend reviewing how the DN was filled in during certificate generation and updating it with accurate, well-formatted details.
Here is an example of a correctly formatted DN:
CN=ftp.example.com, OU=IT, O=Example Inc, L=Berlin, ST=Berlin, C=DE
You can either let the server generate a private key for you by leaving the default option Generated by the server, or you select the Provided option to provide one.
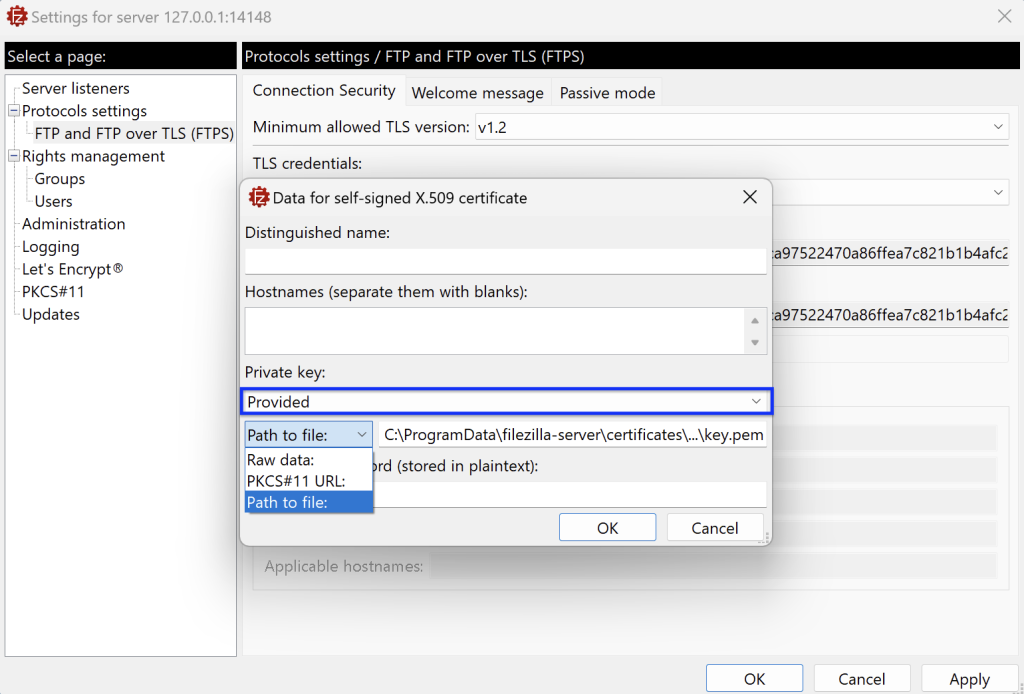
If you select the Provided option, there are three ways to provide the private key:
- Path to file: Enter the complete path to the file in PEM format containing the private key in the Private
key field. Please be advised that sometimes both the private key and the certificate chain are combined
into a single file. In such cases, enter the path to the same file in both fields. The file must be located on
the server. - Rawdata: Enter the certificate in PEM format either by manually inputting it or by selecting a local file
from the machine where the Administration interface is running. - PKCS#11 URL: Enter the PKCS#11 URL that specifies the location of your private key. This URL points
to the exact location of your private key within the Hardware Security Module (HSM) or the device
where your private key is stored.
Note: To use a newly chosen certificate you must either click the Apply or OK button at the bottom of the settings dialog.
Related Topics: